Each Home windows 11 and macOS Sonoma are the newest working techniques for Home windows and Mac customers respectively However about Ubuntu Linux? For any motive, if you wish to set up and use Linux in your Home windows PC or laptop computer, then why not set up it. In the meantime, in case you have a PC or laptop computer working on Home windows 11 and wish to have and use the Ubuntu Linux working system on the identical time alongside your Home windows 10 then you’ve gotten come to the precise place. On this information, you will study learn how to set up Ubuntu utilizing VMware Workstation 17 Professional in Home windows 11.
To arrange a digital machine (VM) in your Home windows PC, many individuals sometimes use software program like Parallels Desktop or Oracle VirtualBox, or Participant. To do that, VMware Workstation is a pleasant, free different. Plus, in only a few minutes, you’ll be able to set up and set it up.
Any working system (OS) in your present system may be run by VMs. You need to use VMware free of charge simulation, whether or not it’s for catastrophe restoration, code testing, or simply some enjoyable exploration. With a view to set up Ubuntu Linux through VirtualBox on Home windows 10, you’ll need to obtain each the VMware Workstation and Ubuntu ISO Recordsdata.
So, with out additional ado, right here’s learn how to set up Ubuntu Linux on Home windows 11 through VMware Workstation digital machine:
Step 1. Putting in VMware Workstation 17 Professional on Home windows 11
VMware Workstation Professional is a bunch hypervisor that operates on x64 variations of Home windows and Linux working techniques; it helps customers to arrange and use digital machines (VMs) on a single bodily pc concurrently with the host machine on x64 variations of Home windows and Linux working techniques (x86-32 variations of earlier releases had been accessible). It’s potential for every digital machine to run its personal working system, together with Microsoft Home windows, Linux, BSD, and MS-DOS variations. VMware Workstation is being produced and distributed by VMware, Inc., a subsidiary of Dell Expertise.
Nonetheless, a free-of-charge model of VMware Workstation Participant is out there for non-commercial use. You require an working system license to make use of proprietary packages equivalent to Home windows. Prepared-made Linux VMs arrange for varied functions can be found from a number of retailers.
VMware Workstation facilitates the bridge of current host community adapters and the change of bodily disk drives and USB machines with a digital machine. It may emulate disk drives; an ISO picture file may be mounted as a digital optical disk drive, and digital disk drives may be mounted as.vmdk recordsdata.
VMware Workstation Professional will instantly save the standing of a digital machine (“snapshot”). These snapshots may be restored later, basically restoring the digital machine to the saved state[5] because it was, and freed from any post-snapshot harm to the VM.
VMware Workstation supplies the power to group a number of digital machines into a listing folder. The machines in such a folder can then be turned on and off as a single object, which is useful for evaluating dynamic client-server environments.
- First, obtain the newest model of VMware Workstation Pro and click on the Obtain Now button below the Workstation 17 Professional for Home windows. The obtain will start routinely.
Obtain VMware Workstation Professional 17
- Navigate the folder the place you’ve gotten downloaded your VirtualBox and double-click on the downloaded “VMware Workstation” file to put in it.
- Click on Subsequent.
- Verify the field subsequent to I settle for the phrases within the License Agreement and click on Subsequent and Subsequent.
- Click on Subsequent and Subsequent.
- Finally, click on Set up.
Step 2. Learn how to Obtain Ubuntu Linux ISO File for VMware Workstation 17 Professional
Linux can also be an working system, as is Home windows or macOS. Linux is the Unix-like working system’s open-source household. Debian, Fedora, Linux Mint, and Ubuntu are among the widespread distributions of Linux.
Ubuntu has some advantages: it’s reasonably priced, open-source, fully customizable, safer, and command-line oriented function (I consider that is essentially the most interesting function).
Ubuntu is a Debian based mostly Linux free and open-source distribution. “With long-term assist (LTS) printed each two days each six months,” Wikipedia says. “The present version and the newest longer-term assist launch, as of 23 April 2020, is 20,04, which is funded by the general public till 2025 and as a paid-up possibility till 2030.
Other than putting in VirtualBox, you additionally must obtain the Ubuntu Linux ISO file. From the Microsoft web site. You possibly can obtain it straight to your inside onerous drive.
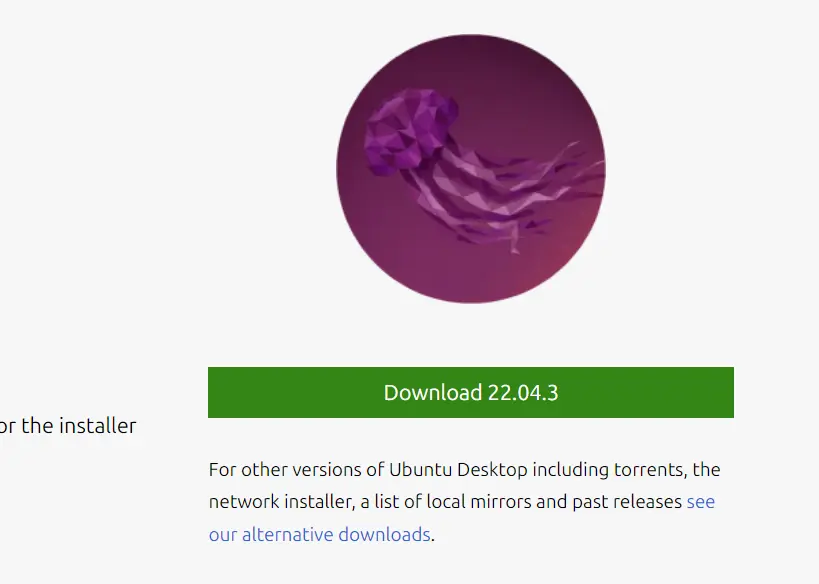
- Step 1. Go to the Download Ubuntu Desktop ISO download web page.
- Step 2. Click on the Obtain button subsequent to the Ubuntu 22.04.3 LTS which is the newest model.
- Step 3. Choose the vacation spot folder and click on Save.
Obtain Ubuntu ISO
Step 3. Making a VMware Workstation Digital Machine
As soon as the Ubuntu ISO file is downloaded, open VMware Workstation and click on on Create a New Digital Machine.
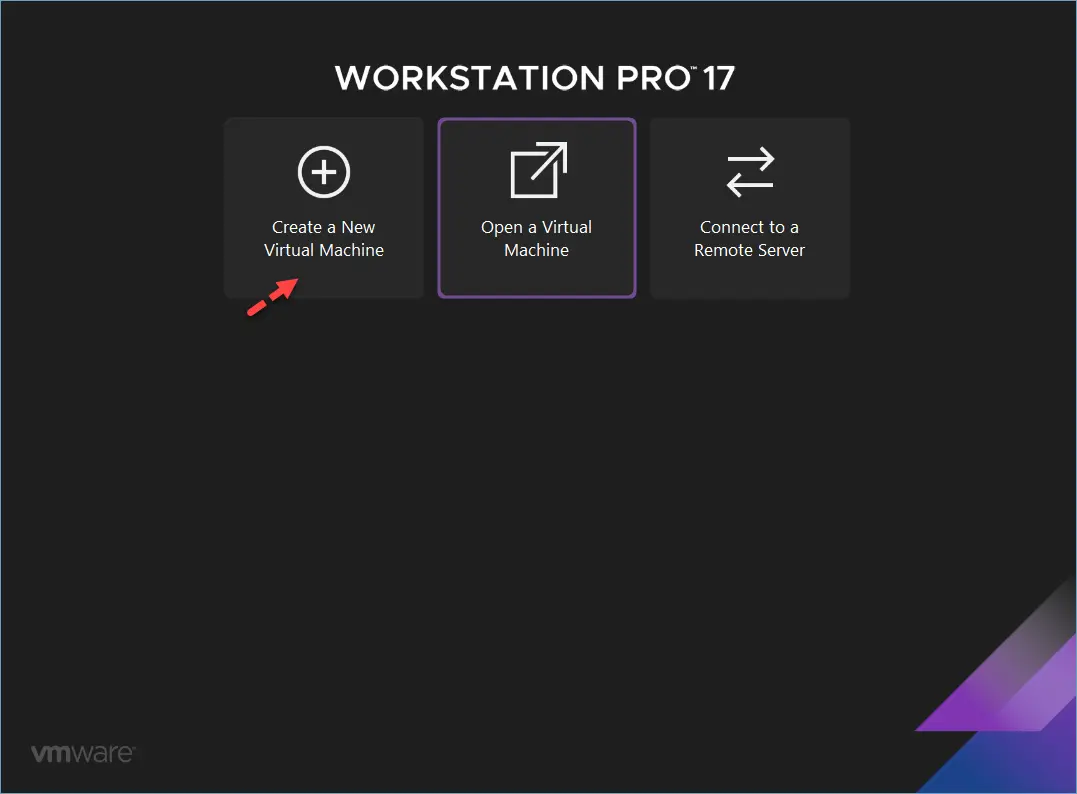
Create a New Digital Machine
A New Digital Machine Wizard window must be displayed. Now, choose Typical (advisable) and click on on Subsequent.
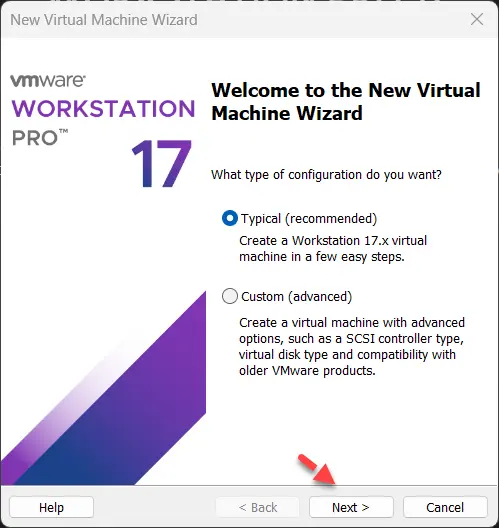
Typical (advisable)
Now, choose I’ll set up the working system later and click on on Subsequent.
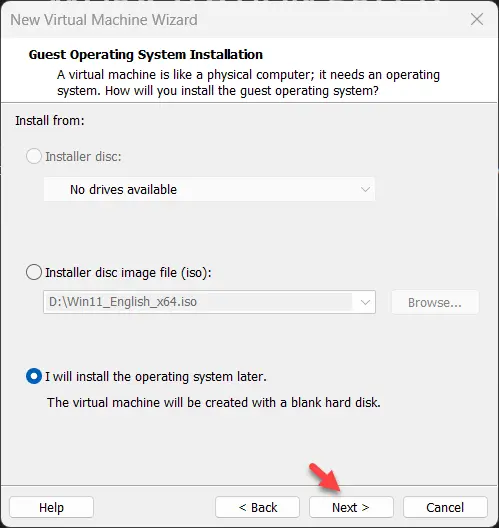
I’ll set up the working system later
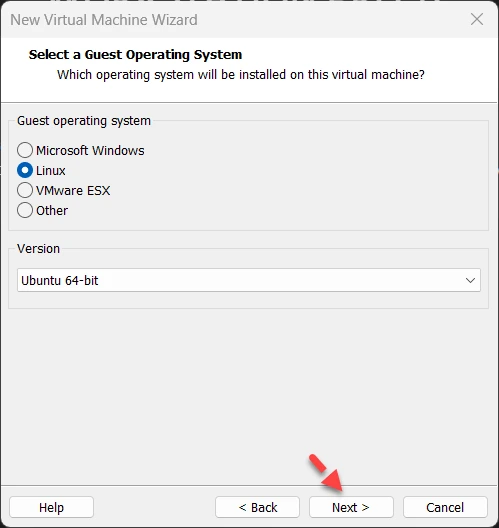
Now, it’s a must to choose the working system that you’ll be put in on the digital machine. Choose Linux from the Visitor working system part and Ubuntu 64-bit from the Model part. When you’re carried out, click on on Subsequent.
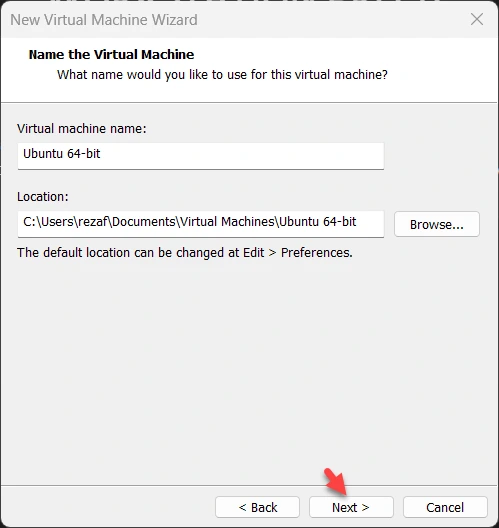
Now, kind in a reputation for the digital machine. You might also kind in a path or choose a listing the place the digital machine knowledge can be saved. When you’re carried out, click on on Subsequent.
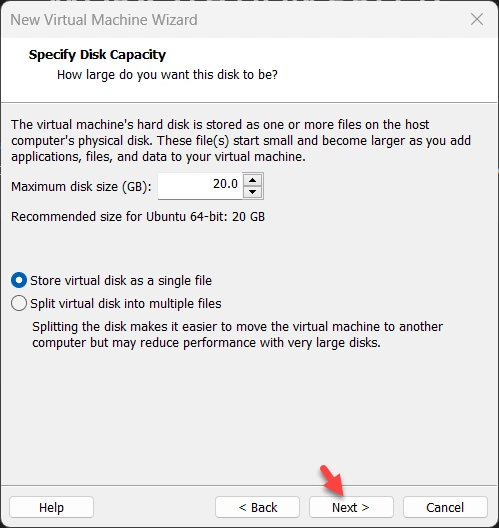
Now, kind within the measurement of the digital onerous disk in GB (gigabyte). I’ll give the digital machine a 20GB digital onerous disk. For higher efficiency, choose Retailer digital disk as a single file and click on on Subsequent.
Now, click on Customise {Hardware} to pick out the Ubuntu Linus ISO file, enhance the RAM and storage.
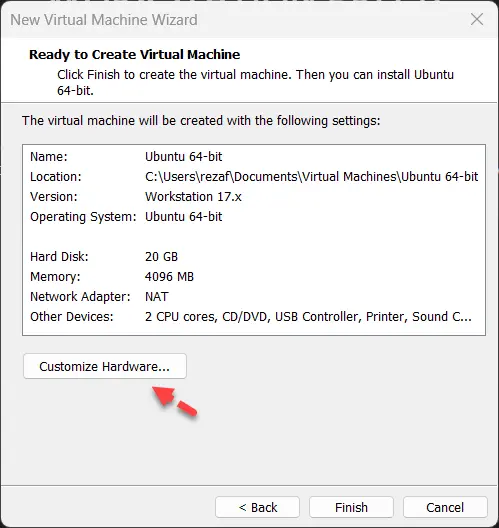
Customise {Hardware}
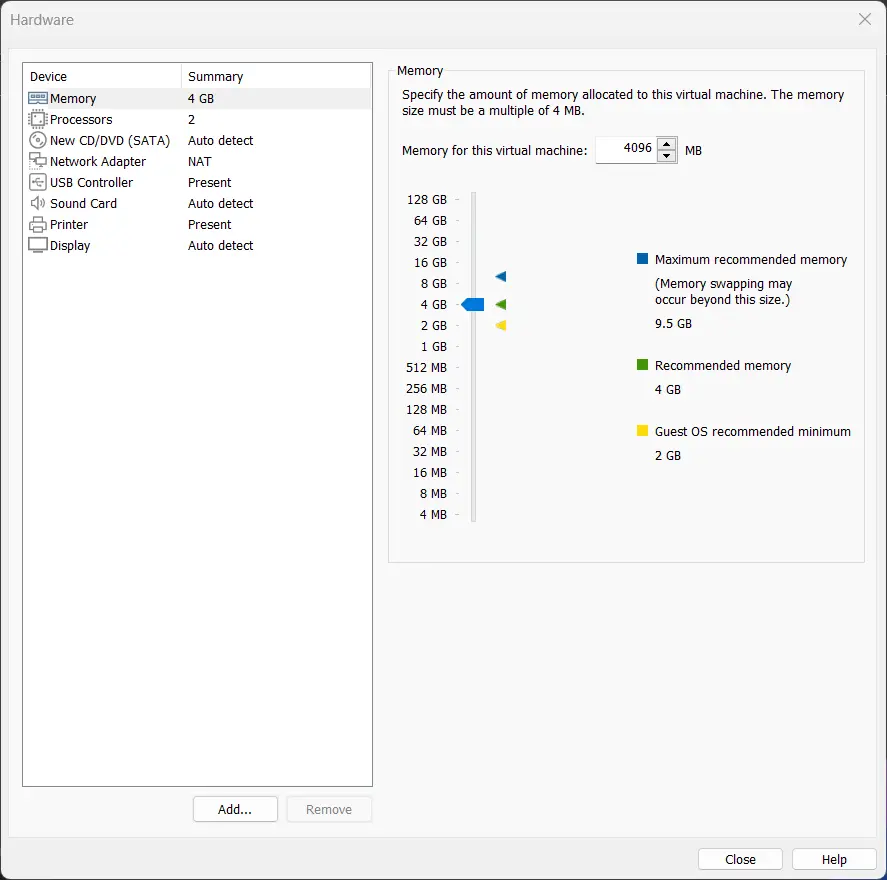
Go to the Reminiscence settings. Right here, 4GB of reminiscence (RAM) is chosen by default. If you wish to change the reminiscence, you’ll be able to both kind within the quantity of reminiscence (in MB/megabyte) you need for this digital machine within the Reminiscence for this digital machine part. Or, you’ll be able to click on and drag the slider up and down to extend or lower the reminiscence for the digital machine, respectively.
From the Processors settings, you’ll be able to change the variety of digital processors, and the variety of cores to assign to every digital processor for this digital machine.
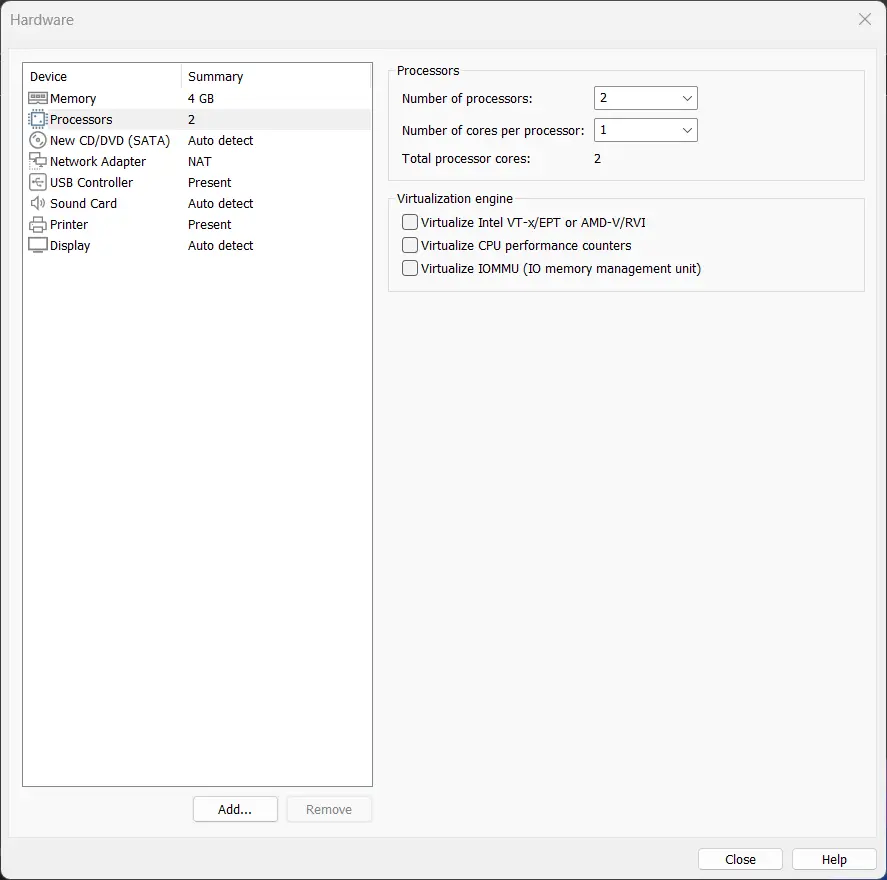
Normally, the variety of processors is ready to 1, and the Variety of cores per processor may be 1 or extra relying in your want.
If you wish to allow nested virtualization (virtualization inside digital machines), then verify the Virtualize Intel VT-x/EPT or AMD-v/RVI checkbox.
If you wish to use efficiency tuning software program within the digital machine, verify the Virtualize CPU efficiency counters checkbox. For this to work, you could have a suitable processor put in in your host pc.
Finally, go to CD/DVD (SATA) settings and choose Use ISO picture file, and click on Browse.
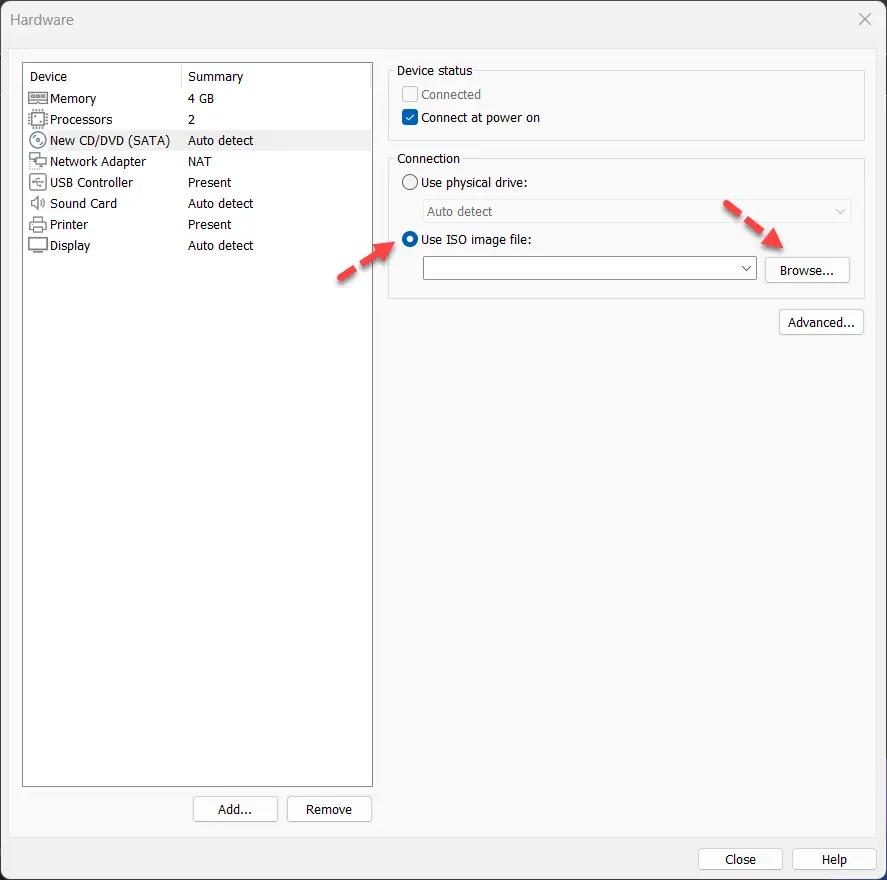
Use ISO picture file
A file picker must be opened. Now, choose the Ubuntu Linux ISO file that you simply’ve downloaded and click on on Open.
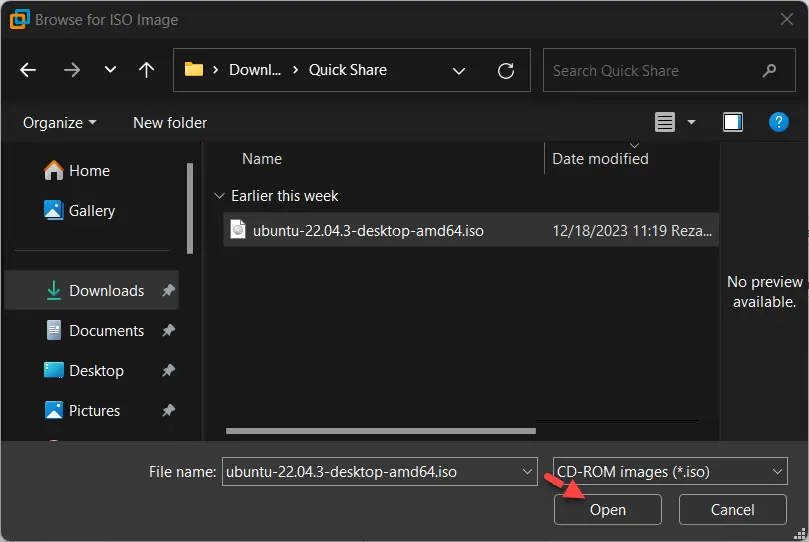
choose the Ubuntu Linux ISO file
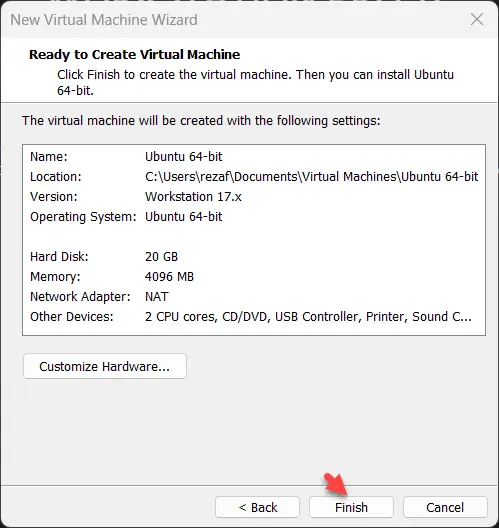
The Ubuntu ISO file must be chosen and click on Shut after which End.
Step 4. Putting in Ubuntu on Home windows 11 through VMware Workstation
Now, your digital machine has been efficiently created, and it’s time to set up Ubuntu Linux on VMware Workstation:
Click on in your created new Ubuntu Linux digital machine and choose Energy on this digital machine.
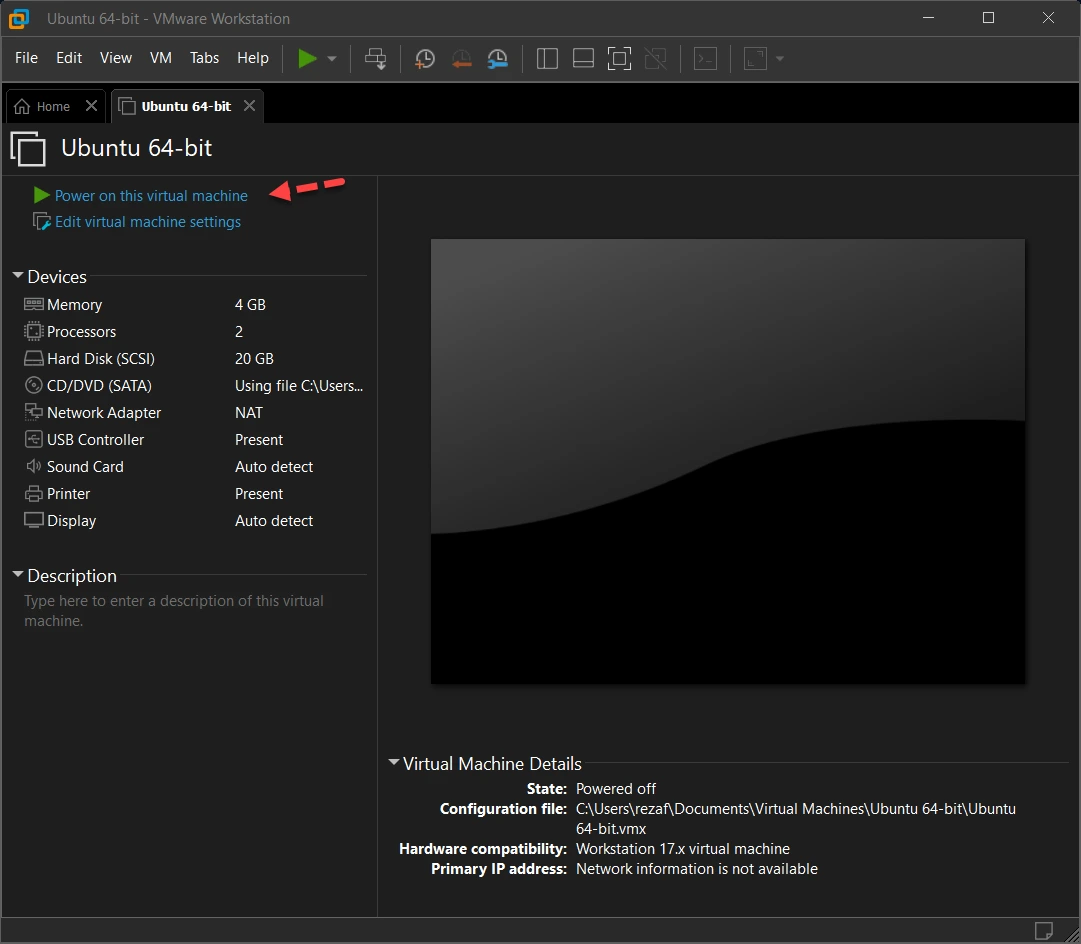
Energy on this digital machine
Your VM will now boot right into a reside model of Ubuntu. Select your language and choose Set up Ubuntu.
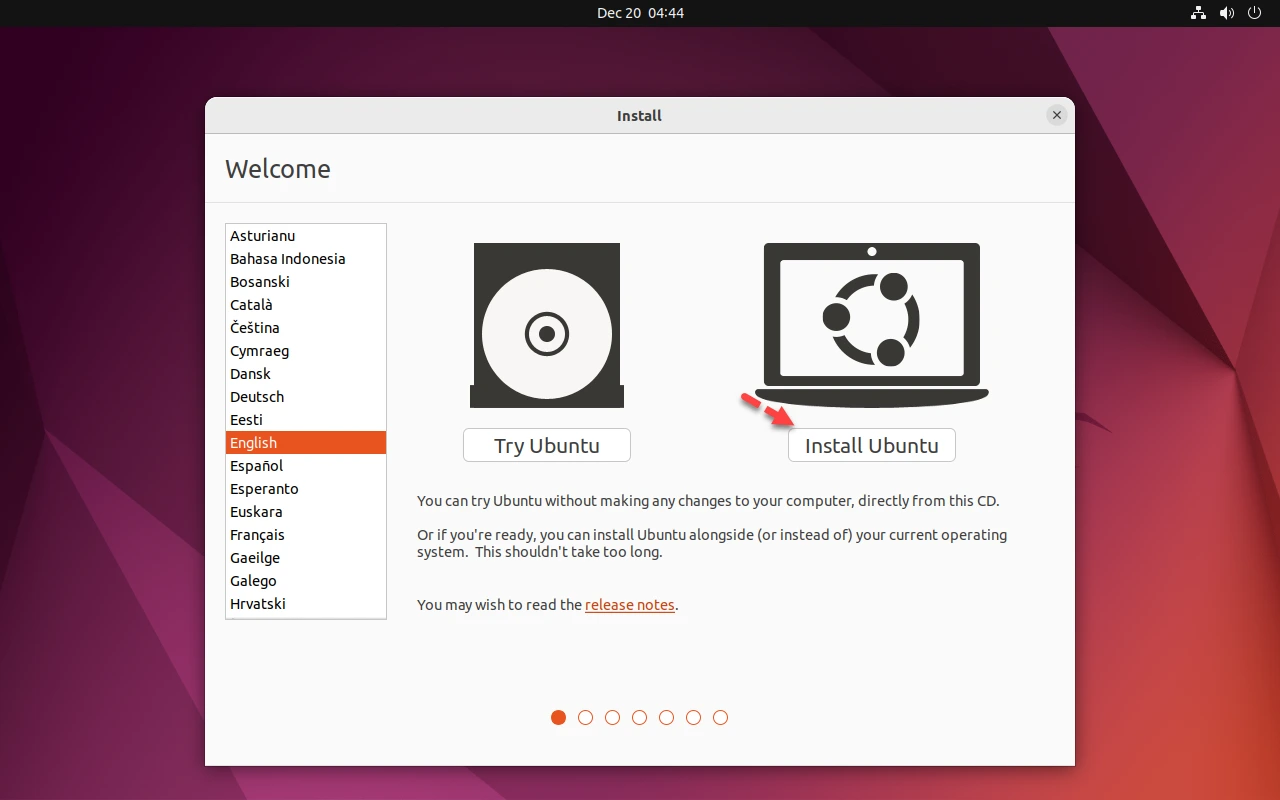
Set up Ubuntu
Notice: If you choose Attempt Ubuntu, you’ll be able to run the installer later by double-clicking Set up Ubuntu on the desktop.
Select your keyboard structure and choose Proceed.
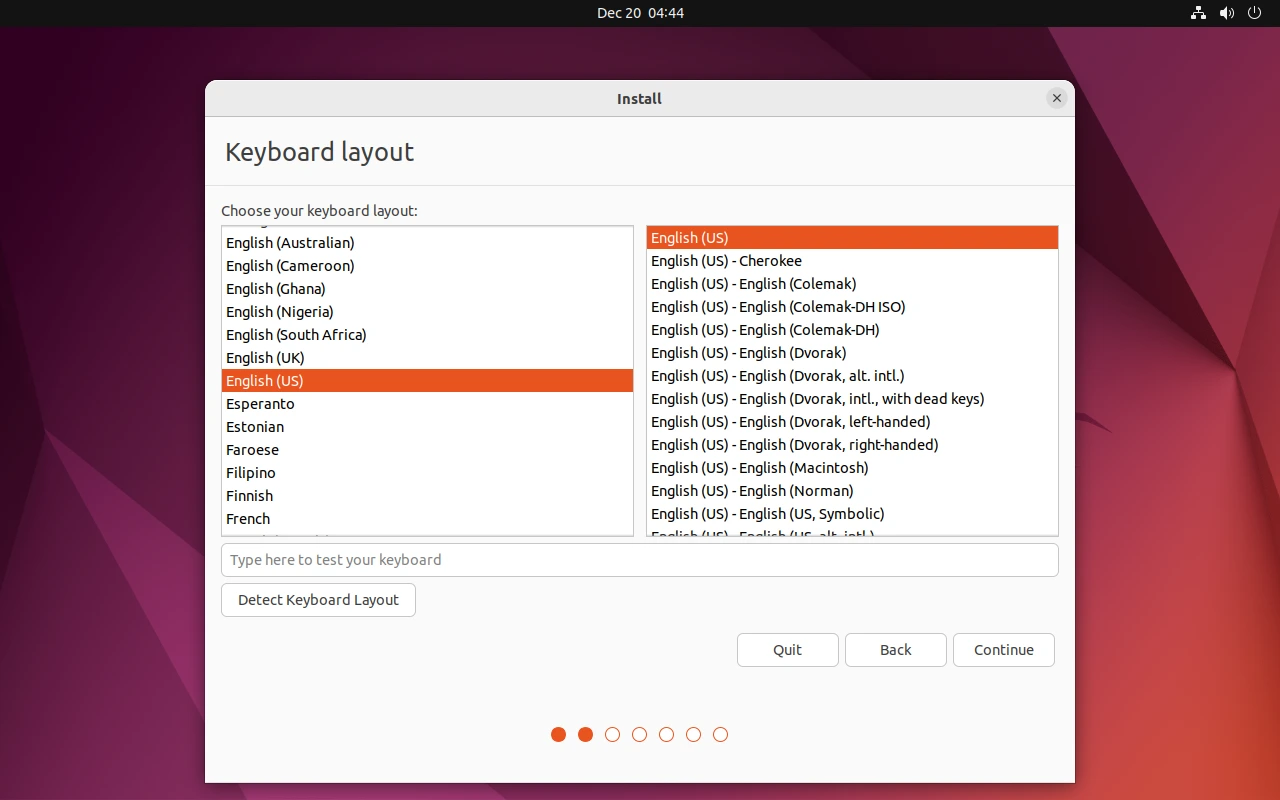
keyboard structure
Select Regular set up, then choose Proceed.
Regular set up
Choose “Erase disk and set up Ubuntu” after which choose Set up Now. Don’t fear. It gained’t delete something in your Home windows working system. You might be utilizing the digital disk area of 15-20GB that we created within the earlier steps. It gained’t influence the actual working system. Simply click on on Proceed.
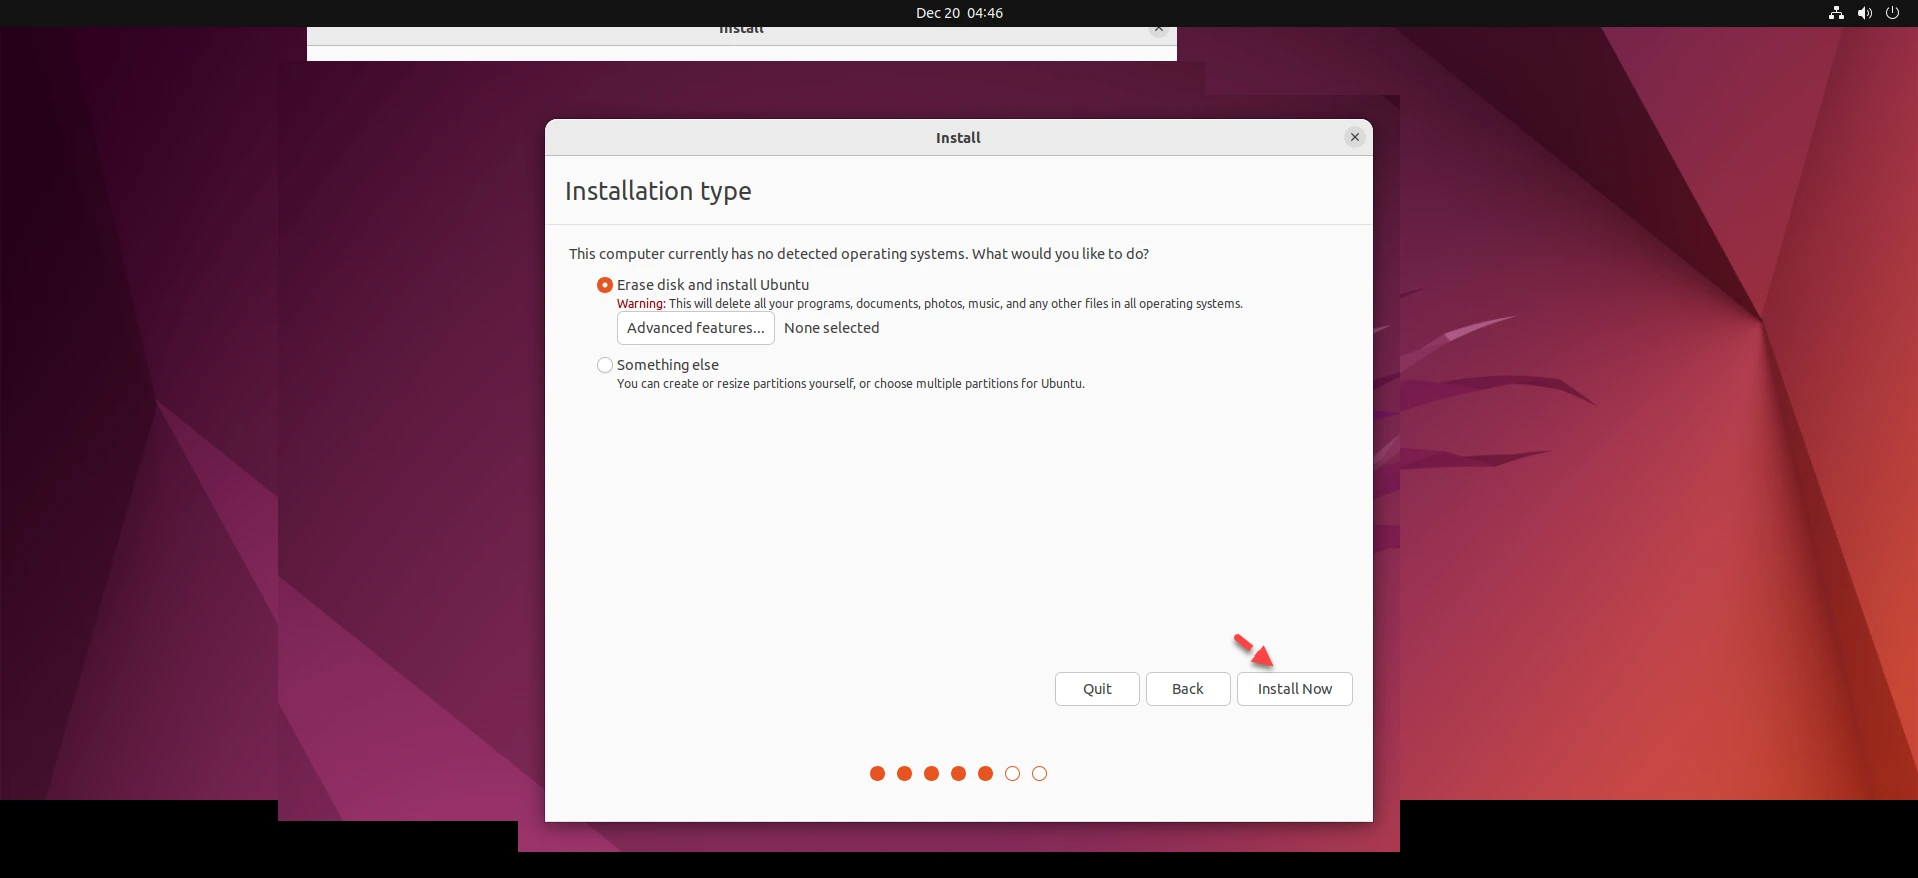
Erase disk and set up Ubuntu
Select your time zone on the map, then choose Proceed.
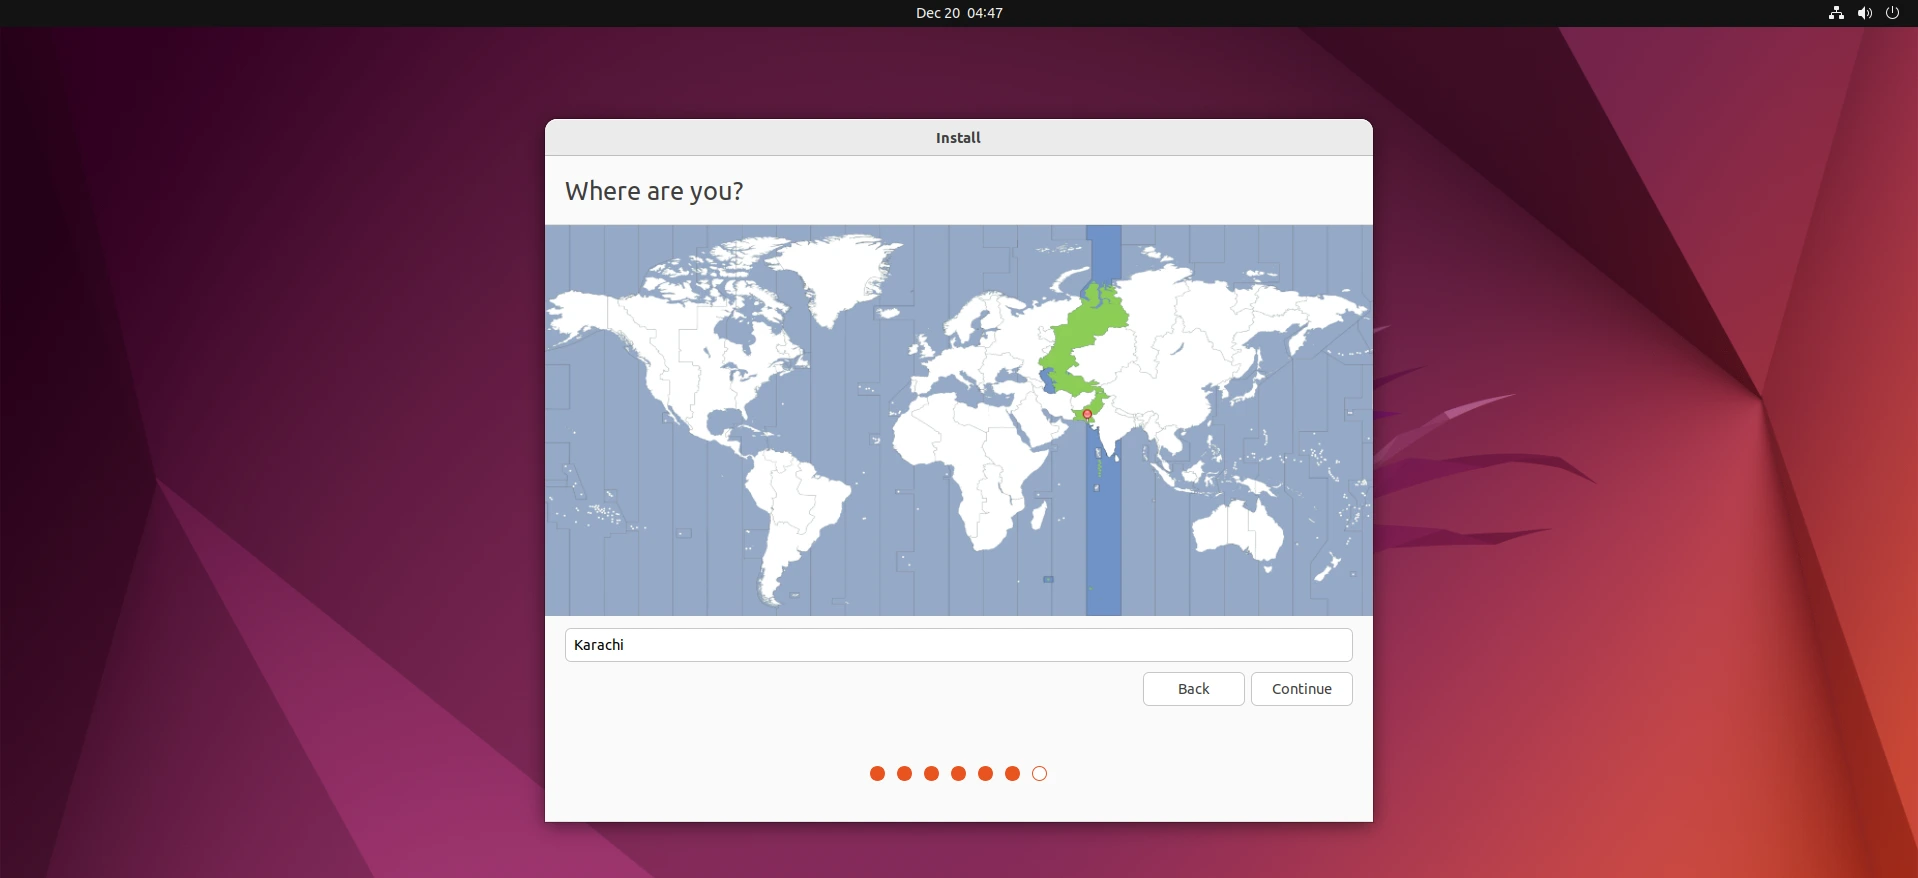
Select your time zone on the map
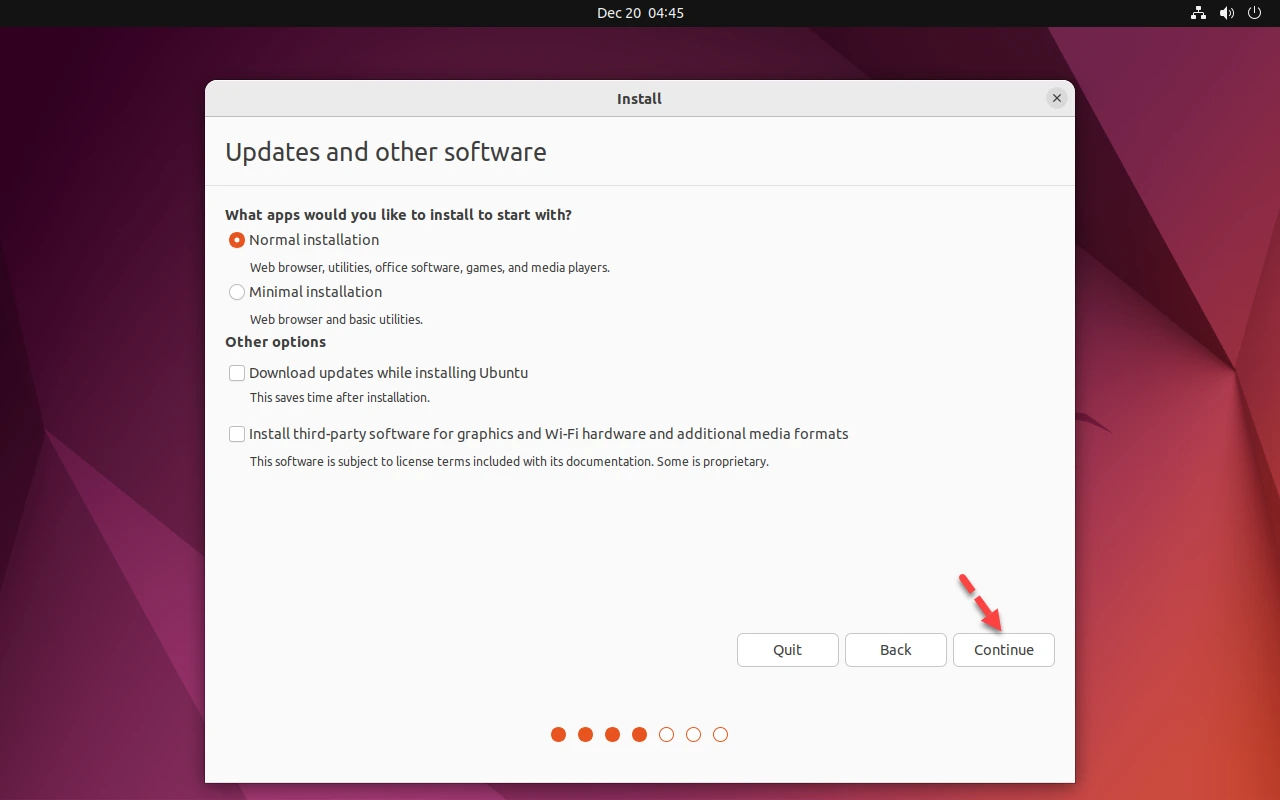
Arrange your consumer account and choose Proceed. You might be virtually carried out. It could take 10–quarter-hour to finish the set up.
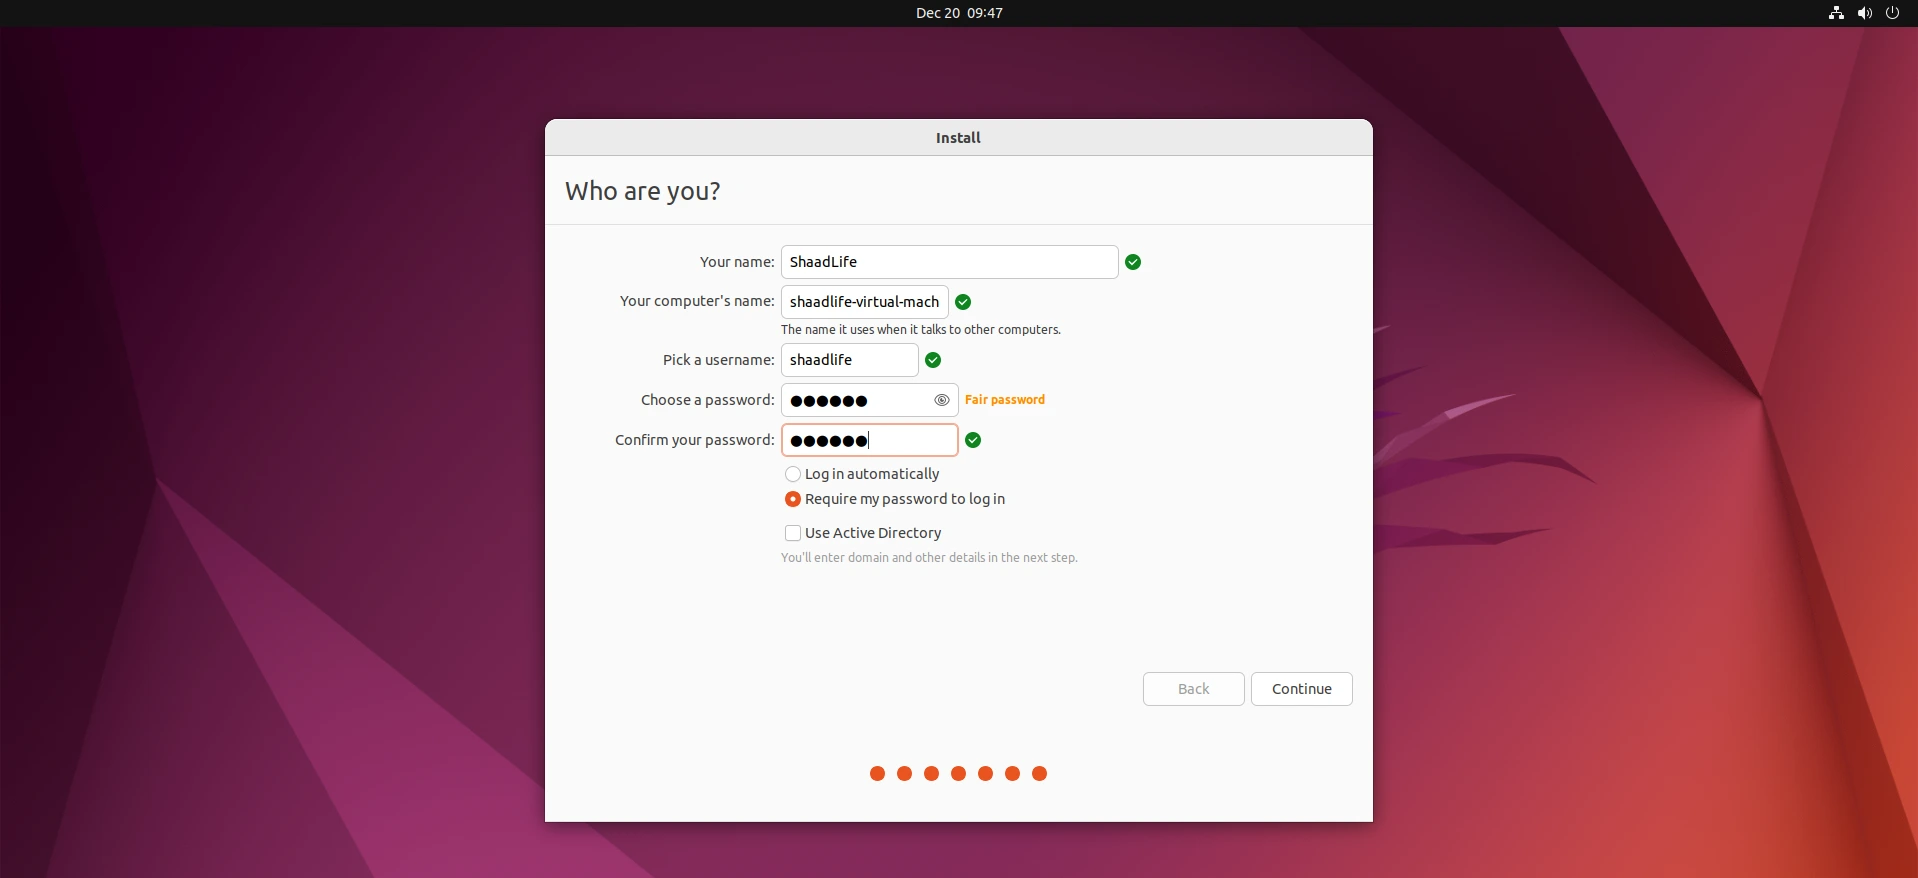
Arrange your consumer account
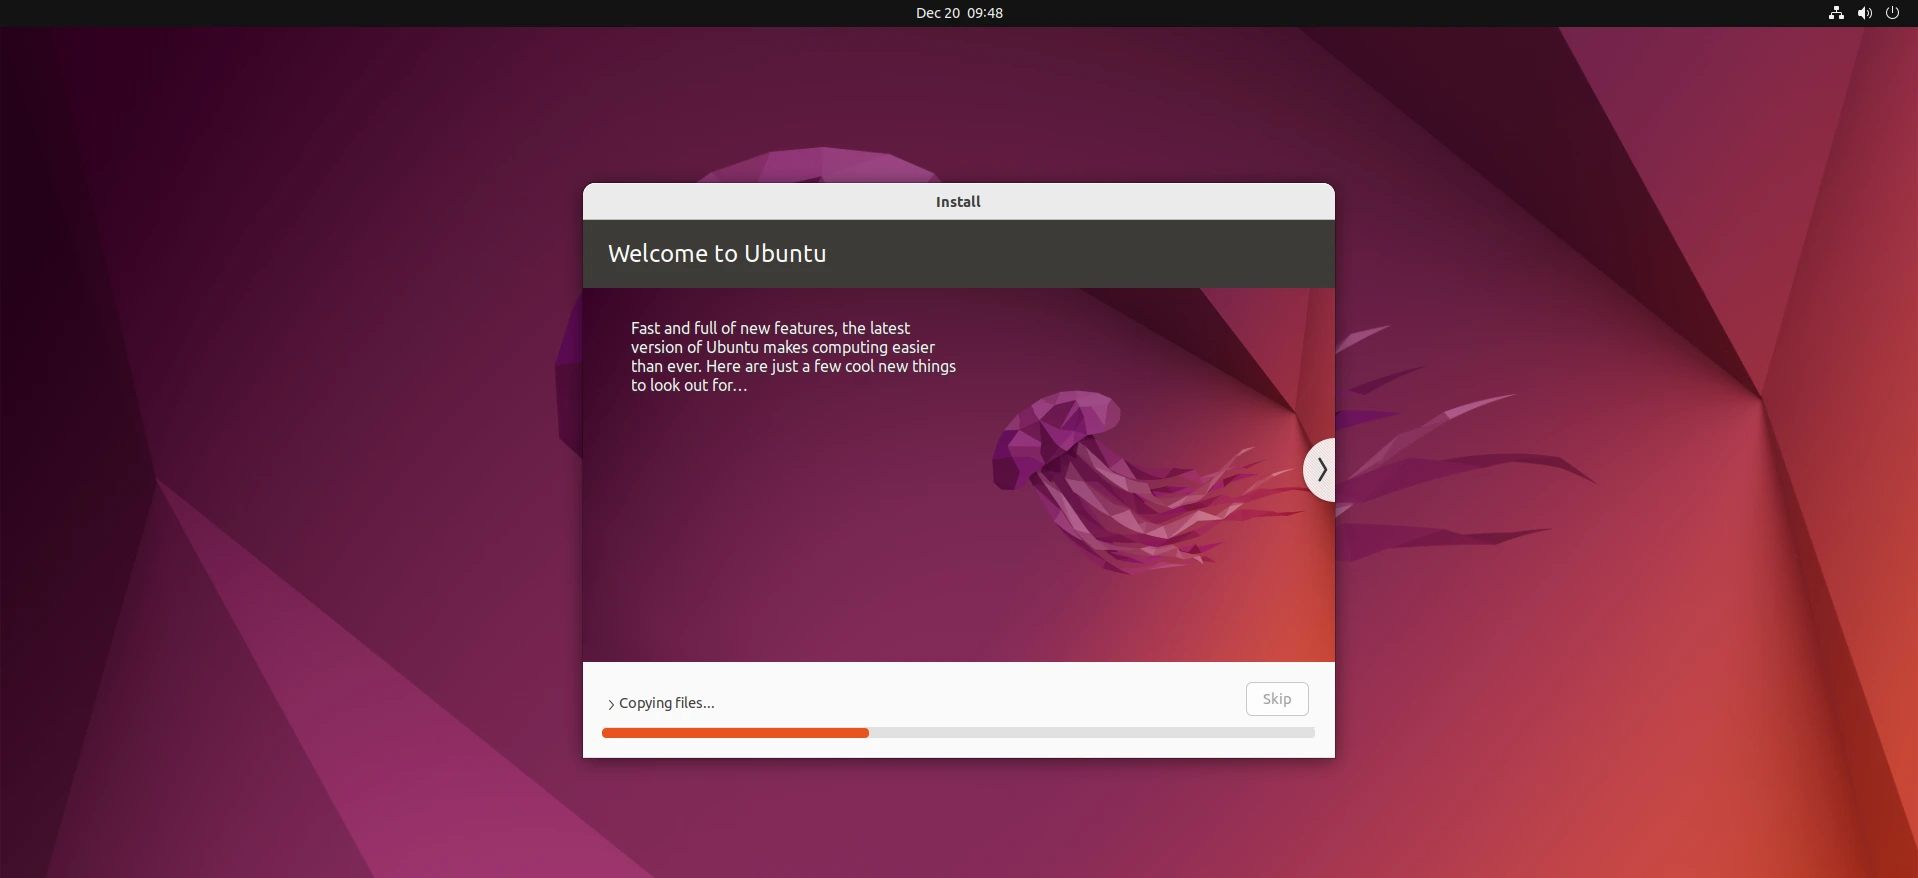
Ubuntu installer ought to begin putting in Ubuntu. It could take some time to finish.
At this level, Ubuntu must be put in on the digital machine. Click on on Restart Now.
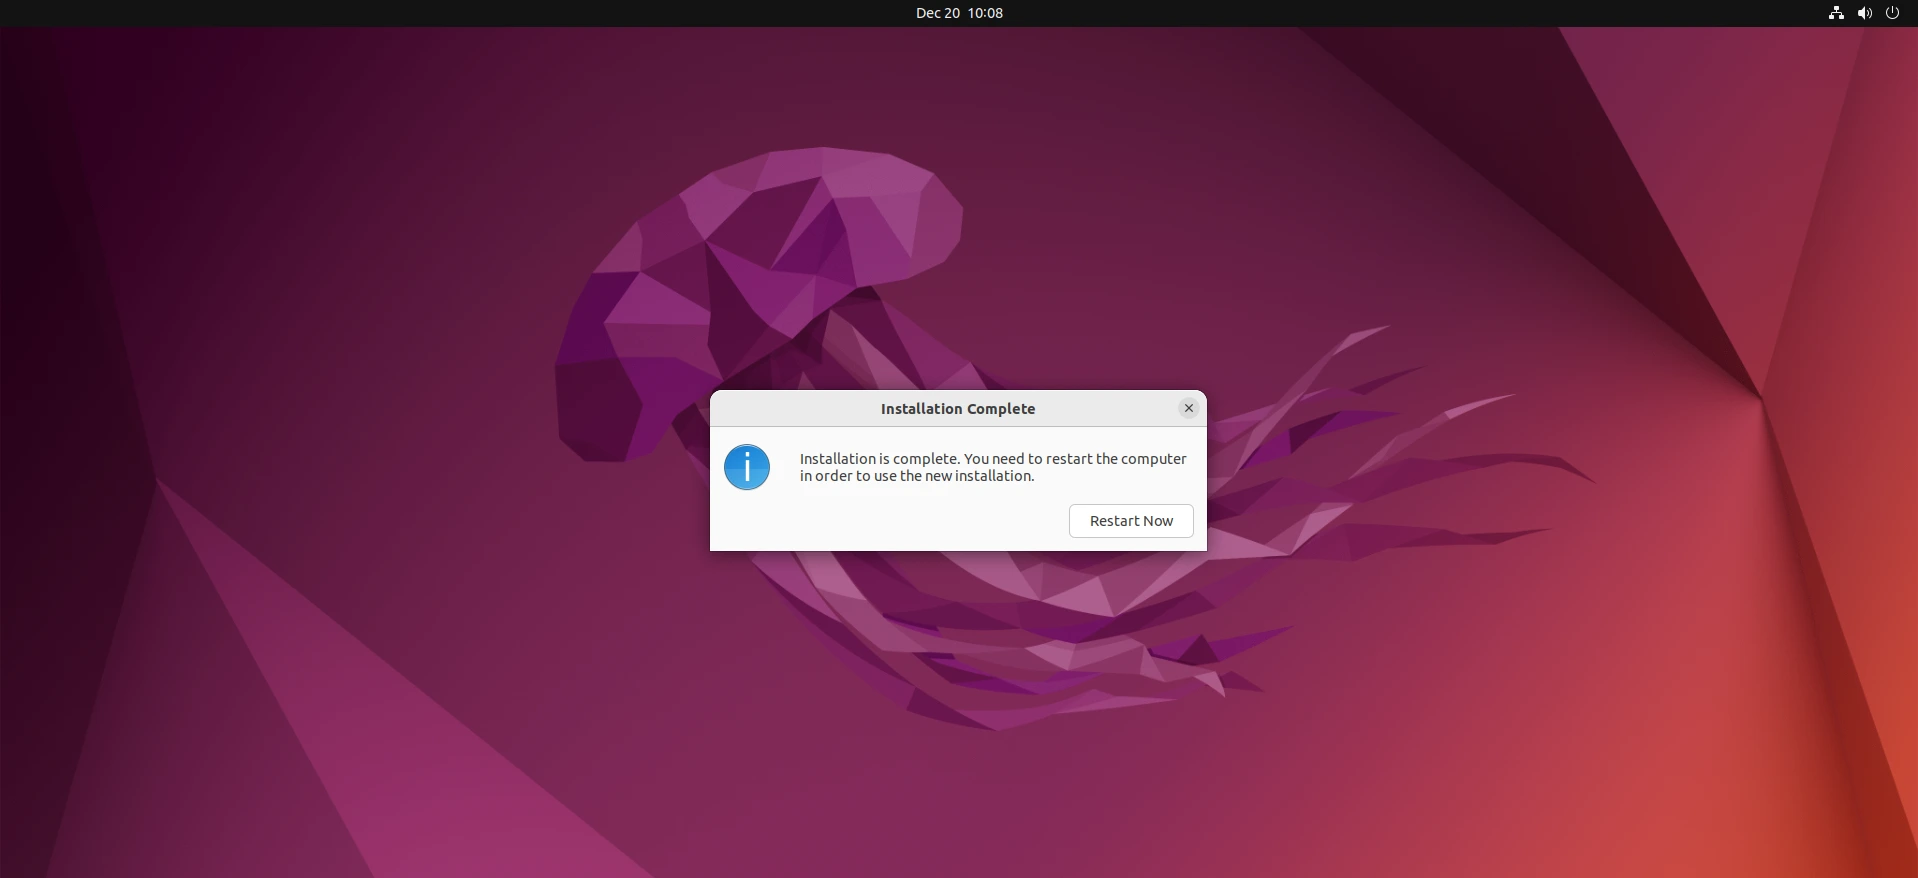
Restart Now
Your digital machine ought to restart the Ubuntu login display screen. Login to Ubuntu along with your password as regular.
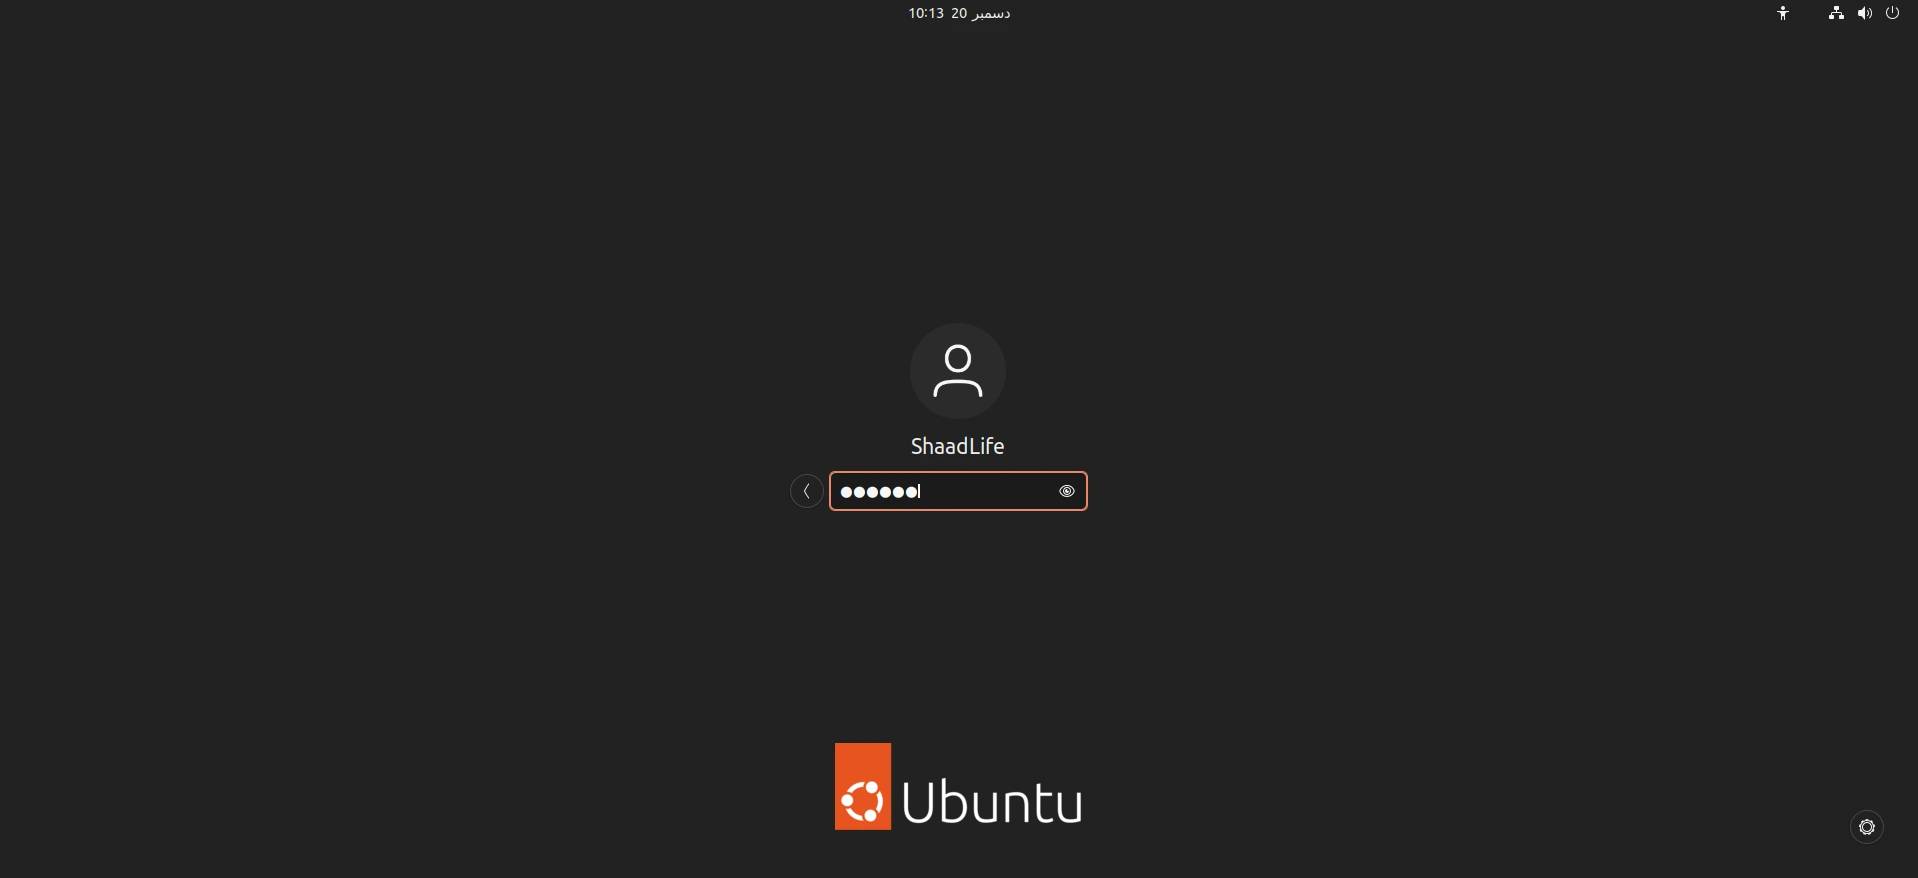
Login to Ubuntu along with your password as regular
Congratulations! You could have efficiently put in and configured Ubuntu Linux on Home windows 11 utilizing VMware Workstation 17 Professional, and the Welcome display screen will seem.
Set up Ubuntu utilizing VMware
Wrapping Up
That’s it. That is how one can set up Ubuntu Linux on Home windows 11 through VMware digital machine. In the meantime, the method could be very simple, and it may appear a bit difficult whereas following the above-mentioned steps, however that’s not the case. In the event you confronted any sort of downside, be at liberty to contact us within the remark part under.
Associated Posts:


Leave a comment