If you wish to set up and take a look at macOS Mojave on digital machines like VMware Workstation then you definately’ll study right here the method to set up macOS Mojave on VMware Workstation Professional 17 in Home windows 11.
macOS Mojave
In 2018, Apple launched macOS Mojave, the corporate’s sixteenth main working system. The identify is derived from the Californian Mojave Desert, just like the sooner version of Excessive Sierra, which was additionally named after a location within the state. New upgrades and options have been added to the OS to assist Mac machines carry out higher. Mac computer systems have all the time been competent and highly effective platforms with high-capacity {hardware}. These computer systems function very effectively and provides customers the best consumer expertise when they’re powered by an revolutionary and highly effective OS.
Options of macOS Mojave
macOS Mojave, which is formally obtainable, brings a slew of recent options and enhancements to Apple’s desktop working system. Stacks help within the group of your desktop. A system-wide darkish mode is visually interesting and makes night computing extra snug. A brand new screenshot software, an enhanced Finder, and Safari favicons are additionally included. Listed here are the highest ten new options in Mojave for Macs.
Darkish mode
You possibly can darken your Mac’s menu bar and Dock in macOS Excessive Sierra, however there was nonetheless lots of shiny display screen in between the darkened prime and backside corners of your Mac’s show. You’ll be able to set your whole desktop in darkish mode with macOS Mojave, together with your desktop wallpaper and the applications that run on prime of it.
Apple’s personal purposes embody darkish mode designs, and when builders start to leverage Apple’s API to create darkish modes for their very own merchandise, the darkish mode ought to unfold to different apps.
Dynamic Desktop
The idea of a dynamic desktop relies on darkish mode, but it surely’s extra for present than something useful. However what a efficiency! The lighting of your desktop wallpaper varies all through the day with Dynamic Desktop, supplying you with an image of the Mojave desert within the heat morning gentle, shiny afternoon gentle, and chilly night gentle. Dynamic desktop rotates throughout 16 completely different graphics. Mojave updates the picture each 90 minutes to cycle via all of them each 24 hours, in line with the calculations.
Stacks
Are you responsible of piling recordsdata upon recordsdata upon recordsdata in your pretty Mac desktop? There are such a lot of icons! Mojave will really feel like a cleansing service that takes up your muddle and organizes it into good, small piles in case your file group technique leaves one thing to be desired. Stacks accumulate all the icons strewn round your desktop and manage them into stacks. Stacks may be organized by file kind, date, tags, and different elements. You’ll be able to lengthen a stack to find a file inside it, however you can too quickly scour a stack to discover a file to pull into an app or e-mail.
Continuity Digicam
Continuity is a brand new characteristic in Mojave. Continuity Digicam lets you take a photograph or scan a doc together with your iPhone and have it robotically uploaded to a doc in your Mac. If you begin capturing images or scanning in your Mac, your iPhone wakes up, and the photograph or scan is uploaded to your doc. You possibly can discover it speedier than AirDrop, which isn’t a sluggish technique of transferring pictures and information out of your iPhone to your Mac.
New screenshot software
In terms of screenshots, Mojave has a brand new screenshot software. Screenshots in Mojave now give you a direct thumbnail show for quick feedback and sharing selections, just like the brand new screenshot workflow launched with iOS 11. There are additionally new video options that let you file parts of your display screen.
For extra macOS Mojave options go to here.
Necessities
- Minimal 2 GB reminiscence
- Minimal 2 cores of processors
- Exhausting disk free area 20 GB
- Your system ought to help Intel or AMD VT (Virtualization Know-how)
- Intel/AMD VT (Virtualization Know-how) Must be enabled from the BIOS setup
Required Information to Set up macOS Mojave on VMware in Home windows 11
With a view to set up macOS Mojave on VMware Workstation 16 Professional on Home windows, you’ll have to obtain the below-given hyperlinks:
- Download VMware Workstation
- Download VMware Unlocker
- Obtain macOS Mojave ISO File
Word: Make it possible for Virtualization Know-how is enabled in your Home windows 11 PC or laptop computer.
Allow Virtualization Know-how
So, with out losing any extra time, listed here are the steps to put in macOS Mojave on VMware in Home windows 11:
Step 1. Set up VMware Workstation Professional 17
VMware Workstation Professional is a chunk of software program that lets you run varied working methods on a single desktop machine with out having to put in them. This technique permits engineers, lecturers, and companies to check purposes on their gadgets with out the necessity for a number of machines to handle varied procedures. It additionally creates the perfect atmosphere for cloud and platform testing.
VMware has a protracted historical past of making virtualization purposes for each college students and companies. They replace their software program a lot that it’s troublesome to pinpoint the latest version and so they’re all the time modernizing to maintain up with the occasions. The workstation provides a sandbox system in which you’ll be able to take a look at and permit no matter you’re engaged on to perform beneath completely different circumstances. On each Linux and Home windows, the software program runs easily.
- Click on on the VMware installer, if prompted, click on Sure and choose Subsequent.
- Examine the field subsequent to I settle for the phrases within the License Settlement and click on Subsequent.
- Click on Subsequent and Subsequent on the upcoming screens.
- Lastly, click on Set up and End.
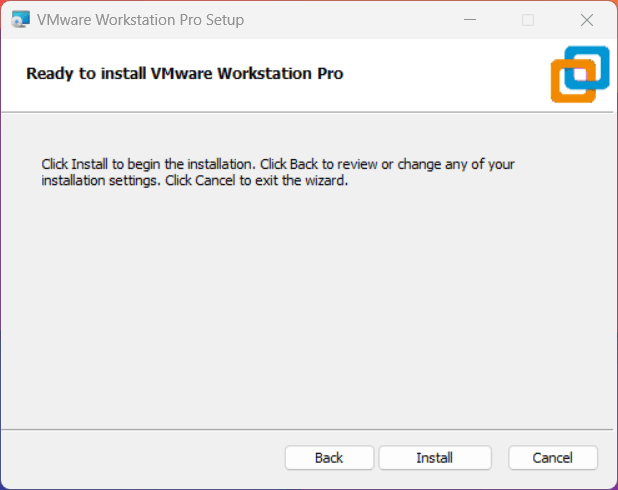
Set up VMware Workstation Professional 17
Step 2. Unlock VMware to Set up macOS on Home windows
VMware Unlocker for macOS is a useful gizmo that replaces a number of recordsdata, like VMware-vmx, vmwarebase.dll, and vmwarebase. So, and patches macOS settings and set up options together with preferences, booting, and set up settings into VMware, in addition to downloading a duplicate of the most recent model of VMware Instruments for macOS in order for you. As a consequence, after you’ve put in the repair, you’ll be capable of work out VMware settings and cargo each variant of macOS on VMware with none limitations.
Word: Ensure that the VMware Workstation utility is closed utterly.
- If you downloaded macOS Unlocker V3 for VMware GitHub then extract it. Open the extracted folder.
- Proper-click on win-install.cmd and click on Run as Administrator. Click on Sure, in case you are prompted.
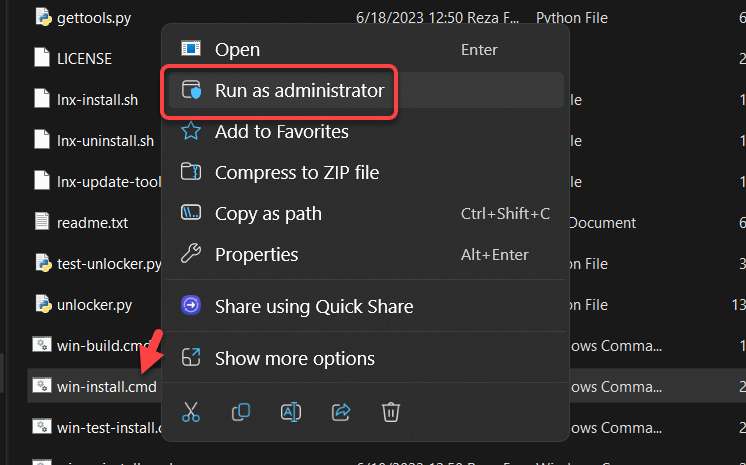
win-install.cmd
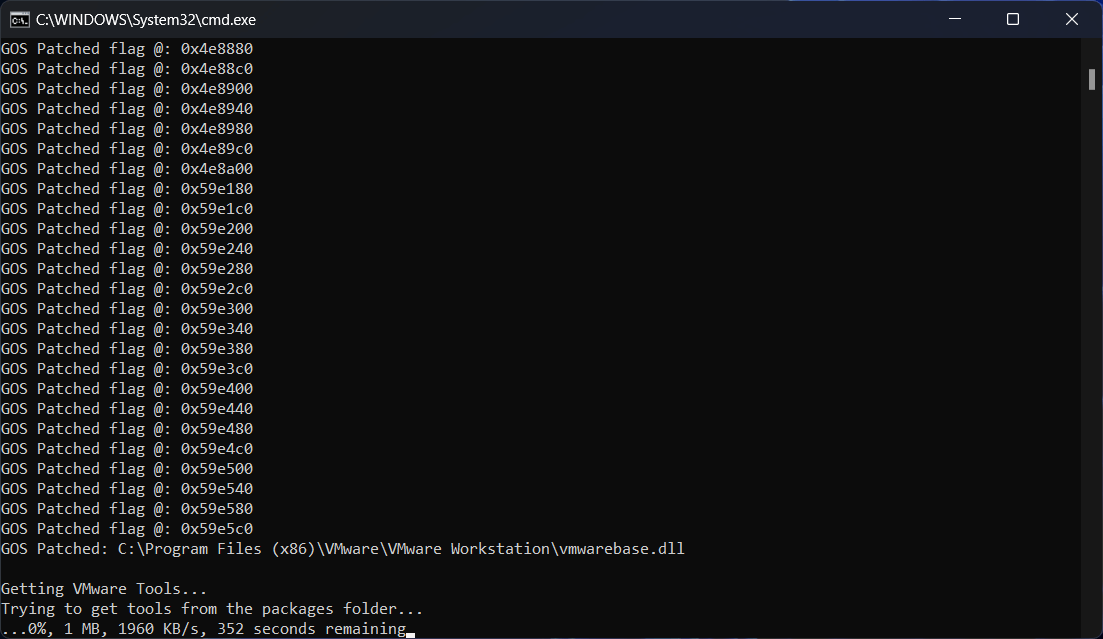
- It’s going to pop up a command immediate working some instructions and wait till it’s finished.
Step 3. Create & Customise macOS Mojave VM
1. Launch the VMware Workstation and click on Create a New Digital Machine.

Create a New Digital Machine
2. The default choice is Typical (advisable). Click on Subsequent.

Typical (advisable)
3. Choose I’ll set up the working system later and click on Subsequent.

I’ll set up the working system later
4. Select Apple Mac OS X from the working system listing then choose macOS 10.14 from the model and click on Subsequent.

Apple Mac OS X
5. Identify the digital machine similar to macOS Mojave. Click on Browse to decide on a location to avoid wasting digital machine recordsdata and click on Subsequent, or you might let it as default.

Identify the digital machine
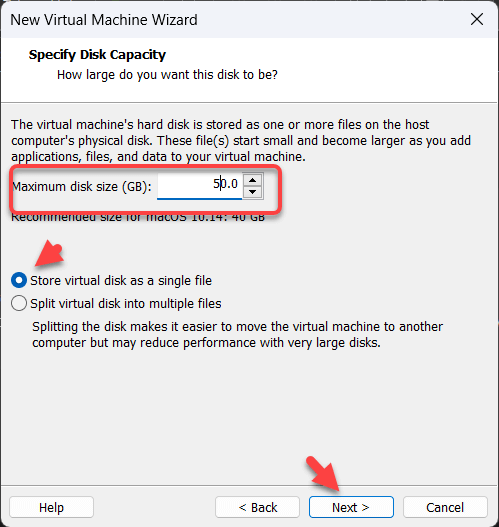
6. Specify the disk measurement and choose Retailer digital disk as a single file and click on Subsequent. 80GB is advisable.
Specify the disk measurement
7. On Able to Create Digital Machine, Click on Customise {Hardware}.

Customise {Hardware}
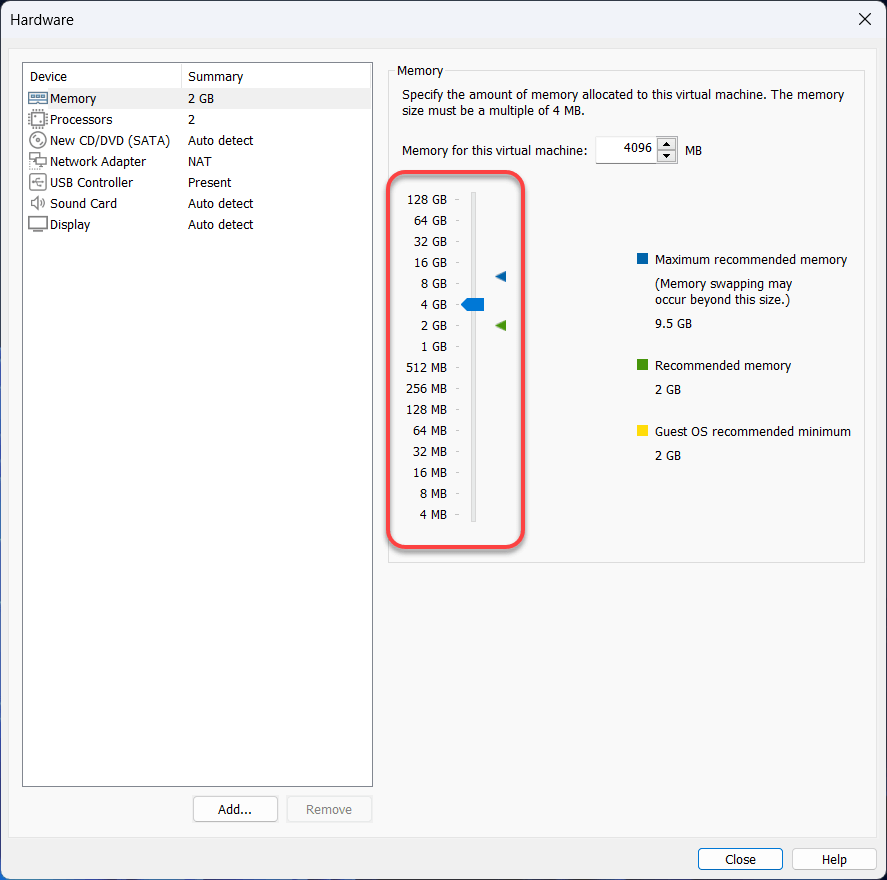
8. Enhance the Reminiscence from 2 GB to 4 GB or greater for higher efficiency.
enhance the Reminiscence
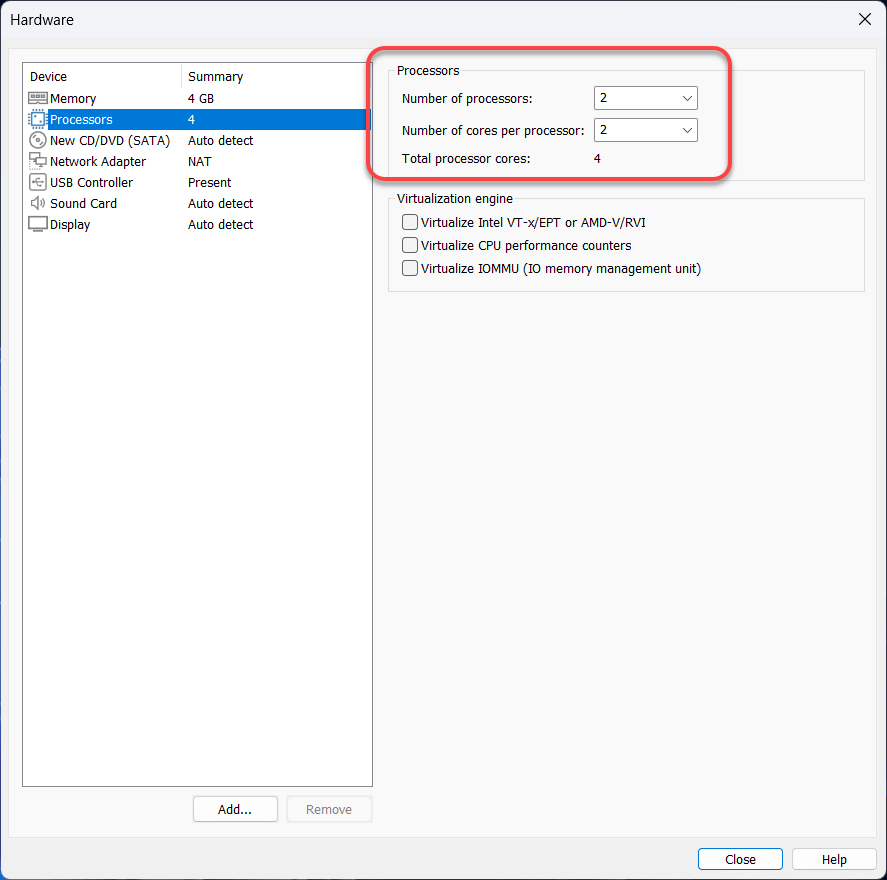
9. Choose the Processors menu then enhance the CPU processor core from 2 cores to 4 or Increased cores for higher efficiency.
Choose the Processors
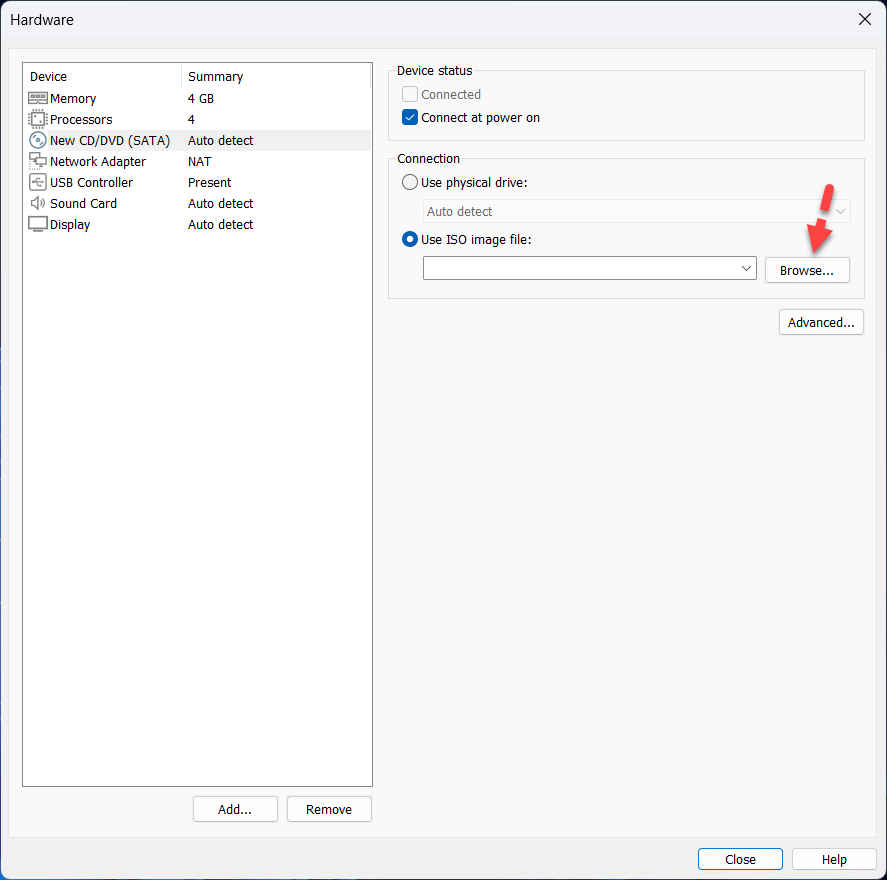
10. Click on the New CD/DVD (SATA) choice, click on Use ISO picture file, and click on Browse.
New CD/DVD (SATA)
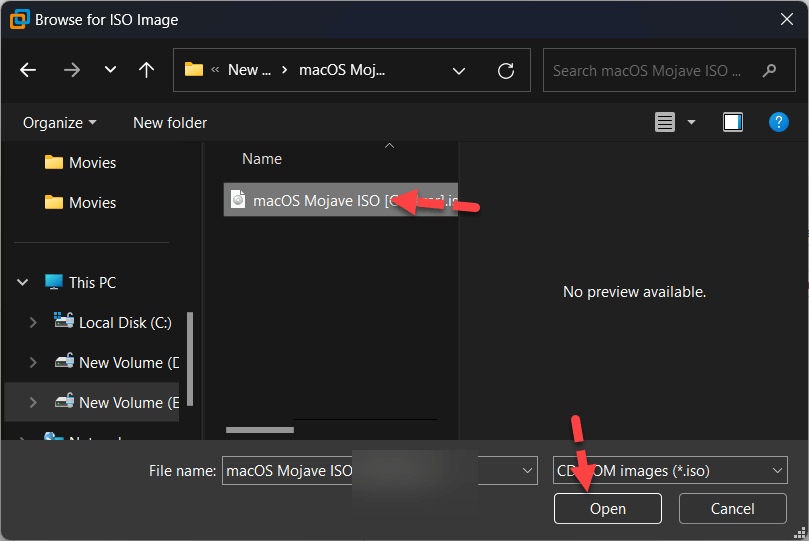
11. Find the macOS Mojave ISO file and click on Open.
Find the macOS Mojave ISO
12. Lastly, click on Shut to avoid wasting all of the modifications that you simply made to the digital machine settings.
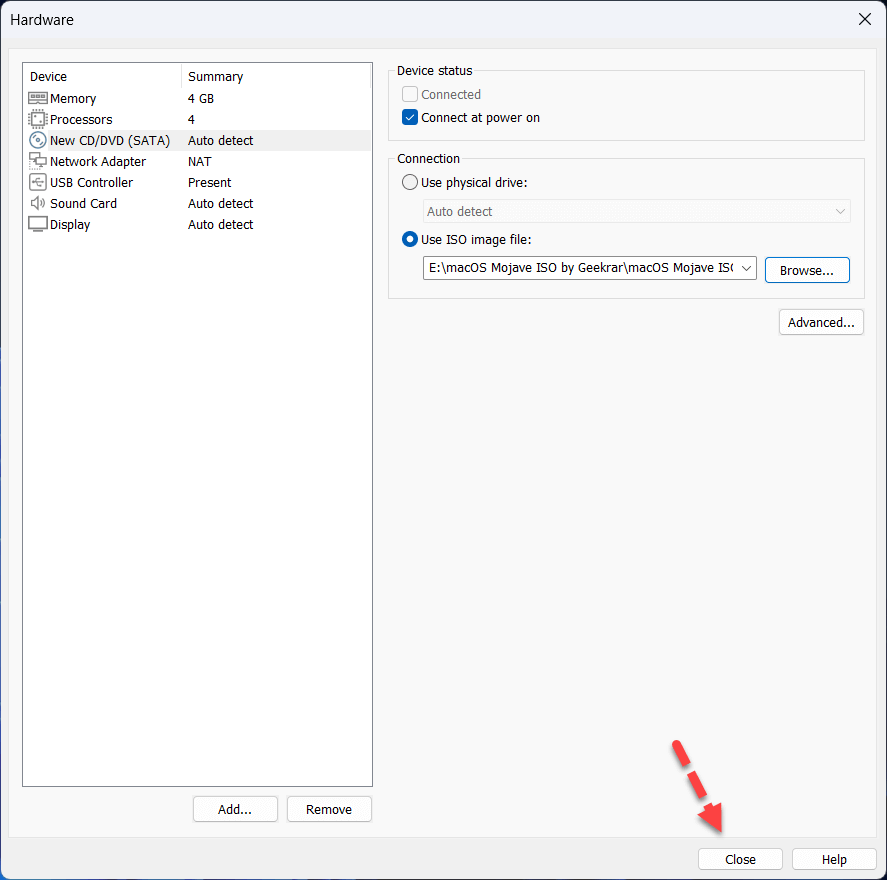
Shut
13. On the New Digital Machine Wizard Window, Click on End.
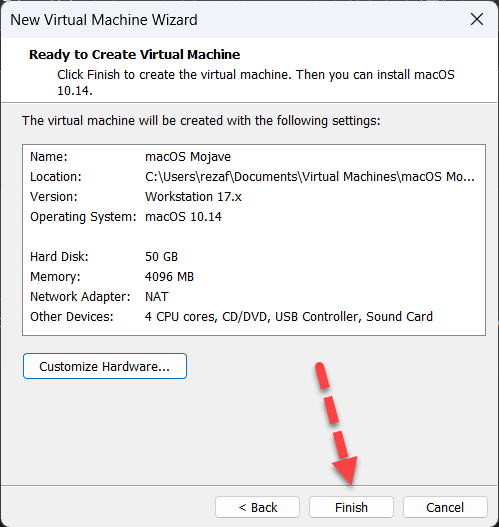
End
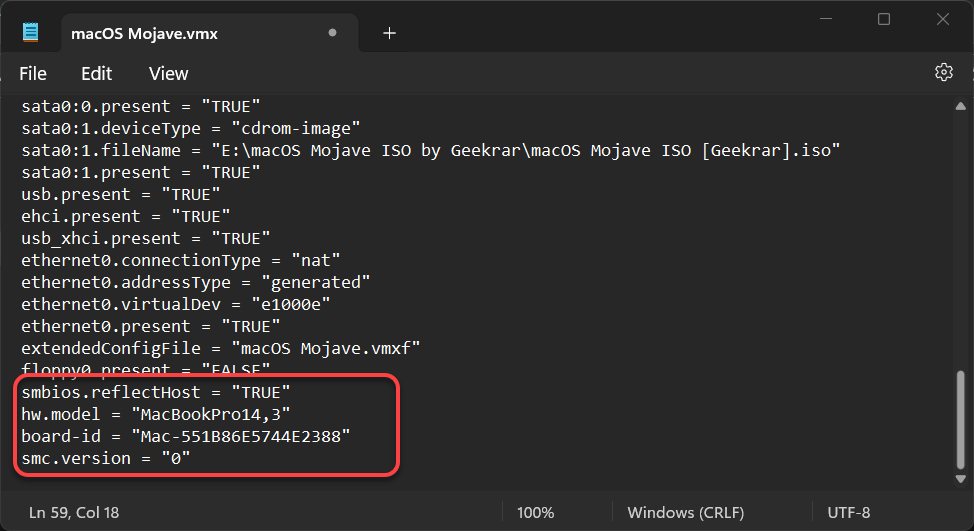
Step 4. Edit macOS Mojave VMX File
1. Discover the placement the place you’ve saved the macOS Mojave digital machine. Proper-click on a file with the extension of VMX and open it with Notepad.

Notepad
2. Scroll right down to the underside of the texts and add the next code; then click on on File > Save.
smbios.reflectHost = “TRUE”
hw.mannequin = “MacBookPro14,3”
board-id = “Mac-551B86E5744E2388”
smc.model = “0”

Step 5. Energy on macOS Mojave Digital Machine
Launch VMware Workstation, choose the macOS Mojave VM, and click on Energy on this digital machine.

Energy on this digital machine
Anticipate macOS in addition up. Right here, you will note the Apple emblem.

Choose your most well-liked language and click on the arrow icon on the backside.

Choose your most well-liked language
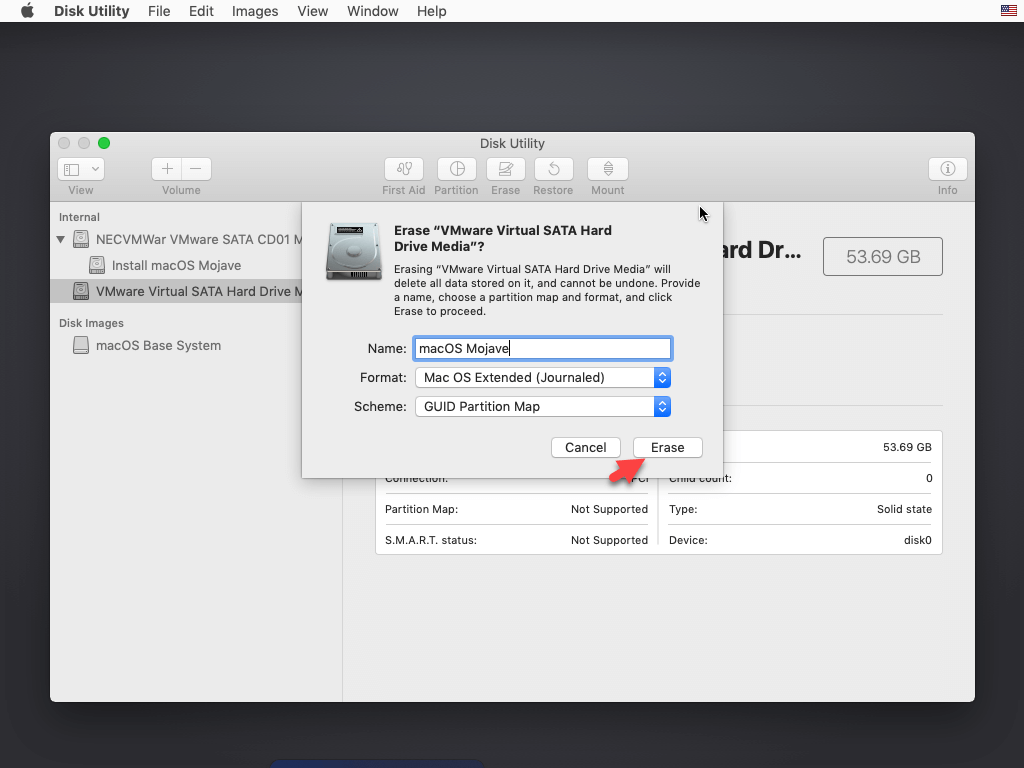
Now, you’ll see macOS Utilities Window. From the listing, choose Disk Utility and click on Proceed on the backside right-hand nook.

Disk Utility
Select VMware Digital SATA Exhausting Drive Media then click on Erase.

VMware Digital SATA Exhausting Drive Media
Select the next choices and once more click on Erase.
- Identify: macOS Mojave
- Format: APFS (In the event you get an error, choose Mac OS X Prolonged Journaled)
- Scheme: GUID Partition MAP
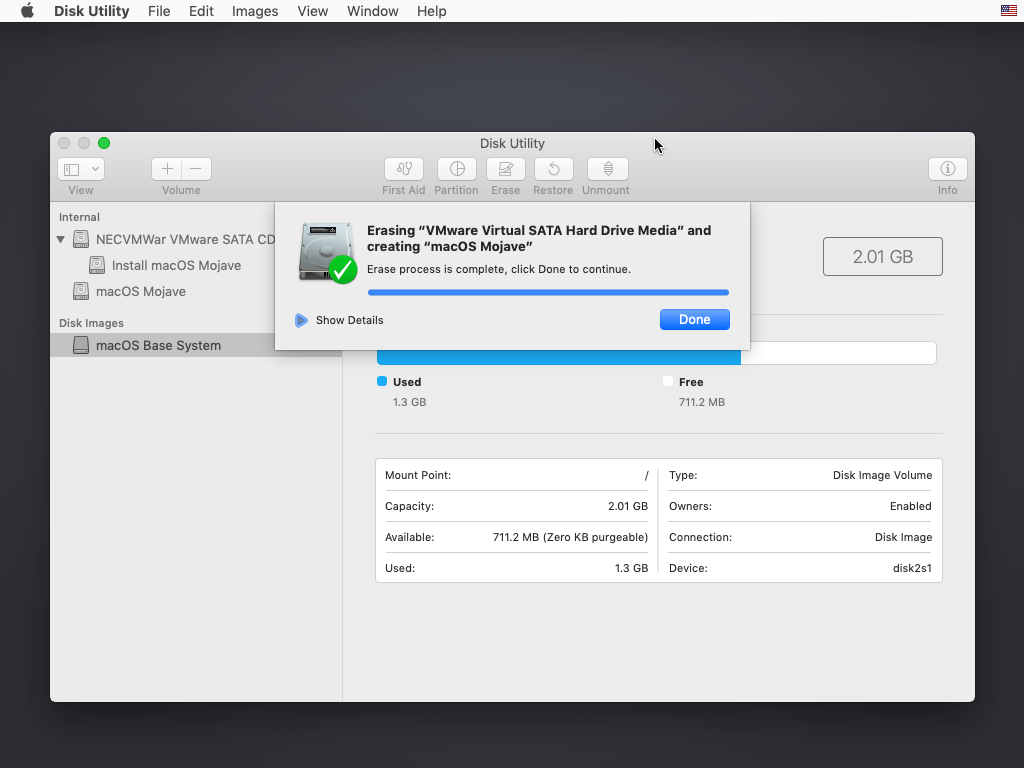
Erase
Click on Carried out.
Carried out
From Disk Utility Tab, click on Stop Disk Utility.

Stop Disk Utility
From macOS Utilities, choose Set up macOS and click on Proceed.

Set up macOS
Click on Proceed.

Proceed
On the subsequent display screen, click on Agree and as soon as once more choose Agree.

Agree
Choose the macOS Mojave exhausting disk and click on Proceed.
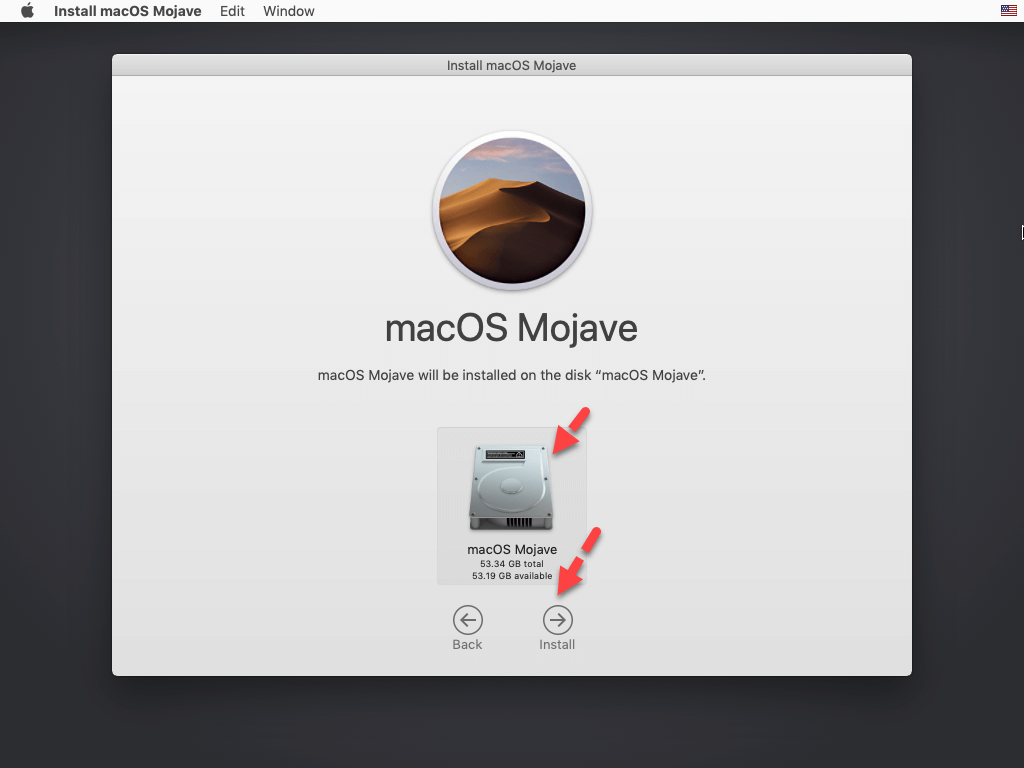
macOS Mojave exhausting disk
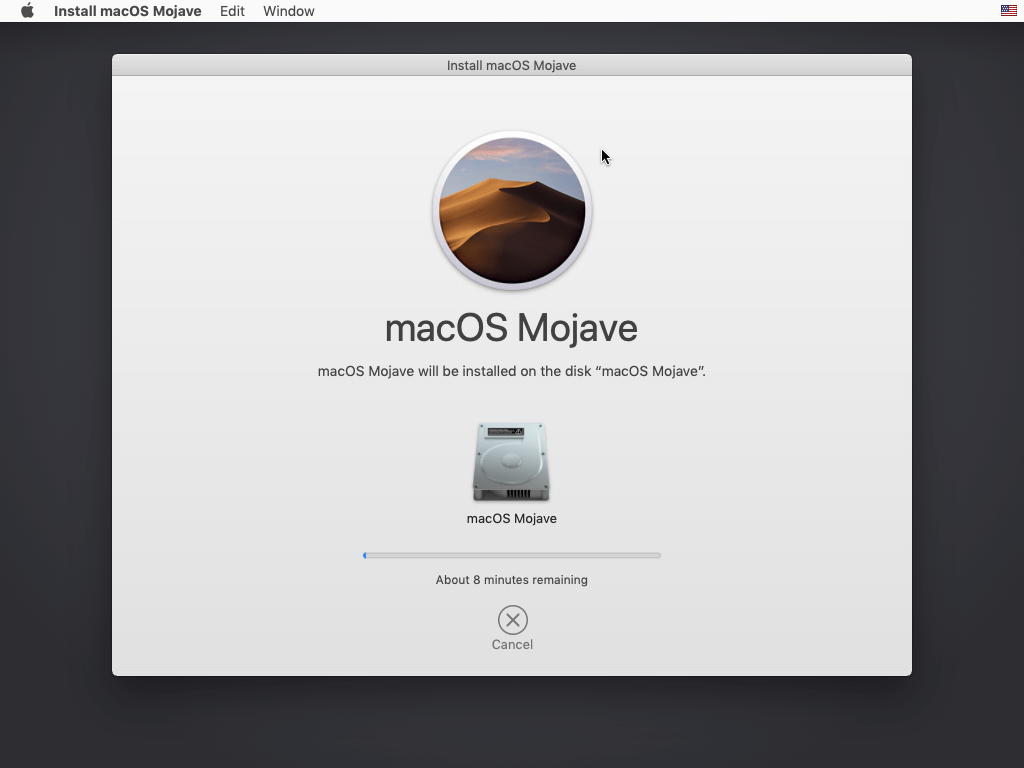
Anticipate macOS Mojave to restart 2/3 occasions to complete the set up with out your interference. Be affected person; it’s going to take round 15-20 minutes, relying in your system.
Step 6. Setup macOS Mojave for the First Time
- On the Welcome display screen, choose your nation/area and click on Proceed.
- Select your Nation and click on on Proceed.
- Select a Keyboard Structure and click on Proceed.
- On the Knowledge & Privateness web page, click on Proceed.
- Choose Don’t switch any info now and click on Proceed.
- On Check in together with your Apple ID web page, click on Arrange Later and click on on Skip.
- Agree to the Phrases and Situations.
- Fill out the Full identify, Account identify, Password, and Trace, and click on on Proceed to create your consumer account for macOS Mojave 10.14.
- On the Expres Set Up web page, for those who don’t wish to do one thing simply click on Proceed.
- The darkish mode characteristic is added newly to macOS Mojave 10.14 so you may choose Gentle or Darkish mode after which click on Proceed.
- Lastly, macOS Mojave is efficiently put in on VMware.

That’s it. That is how one can set up and run macOS Mojave on VMware Workstation on a Home windows 10/11 PC or laptop computer. The set up course of was very easy.
Associated Posts
Learn how to Set up macOS Ventura on VMware Workstation in Home windows 10/11
Learn how to Set up macOS Monterey on VMware in Home windows 10
Learn how to Set up macOS Huge Sur on VMware Workstation in Home windows 10


Leave a comment